Customising your app to include your branding and logos is important for any forms or apps. This article covers the form and app styling options provided in the OneBlink LcS.
TABLE OF CONTENTS
- Styling Overview
- Styling Environments
- Styling Apps
- PWA (Progressive Web App) Settings
- Advanced Styling
- Get Help
Styling Overview
The OneBlink LcS includes several out-of-the-box styling configuration options to add your branding and guidelines to your forms and apps. The platform also allows for complete overwriting of your form and app CSS using the Developer Tools. In this article, we will cover the areas where styling can be applied to your forms and apps.
Styling can be applied at two levels in the platform: the Environment level and the App level. By default, the environment-level styling will be inherited by all apps within that environment. If you would like a specific app to look different to your environment styling, then you can overwrite or append to the environment-level styling in your app configurations.
Styling Environments
To start customising your App and Form styling, navigate to the Environments menu, select an environment and then navigate to the Appearance menu. From here, several configuration options can be set; these options will be automatically inherited by all forms and apps within the environment.
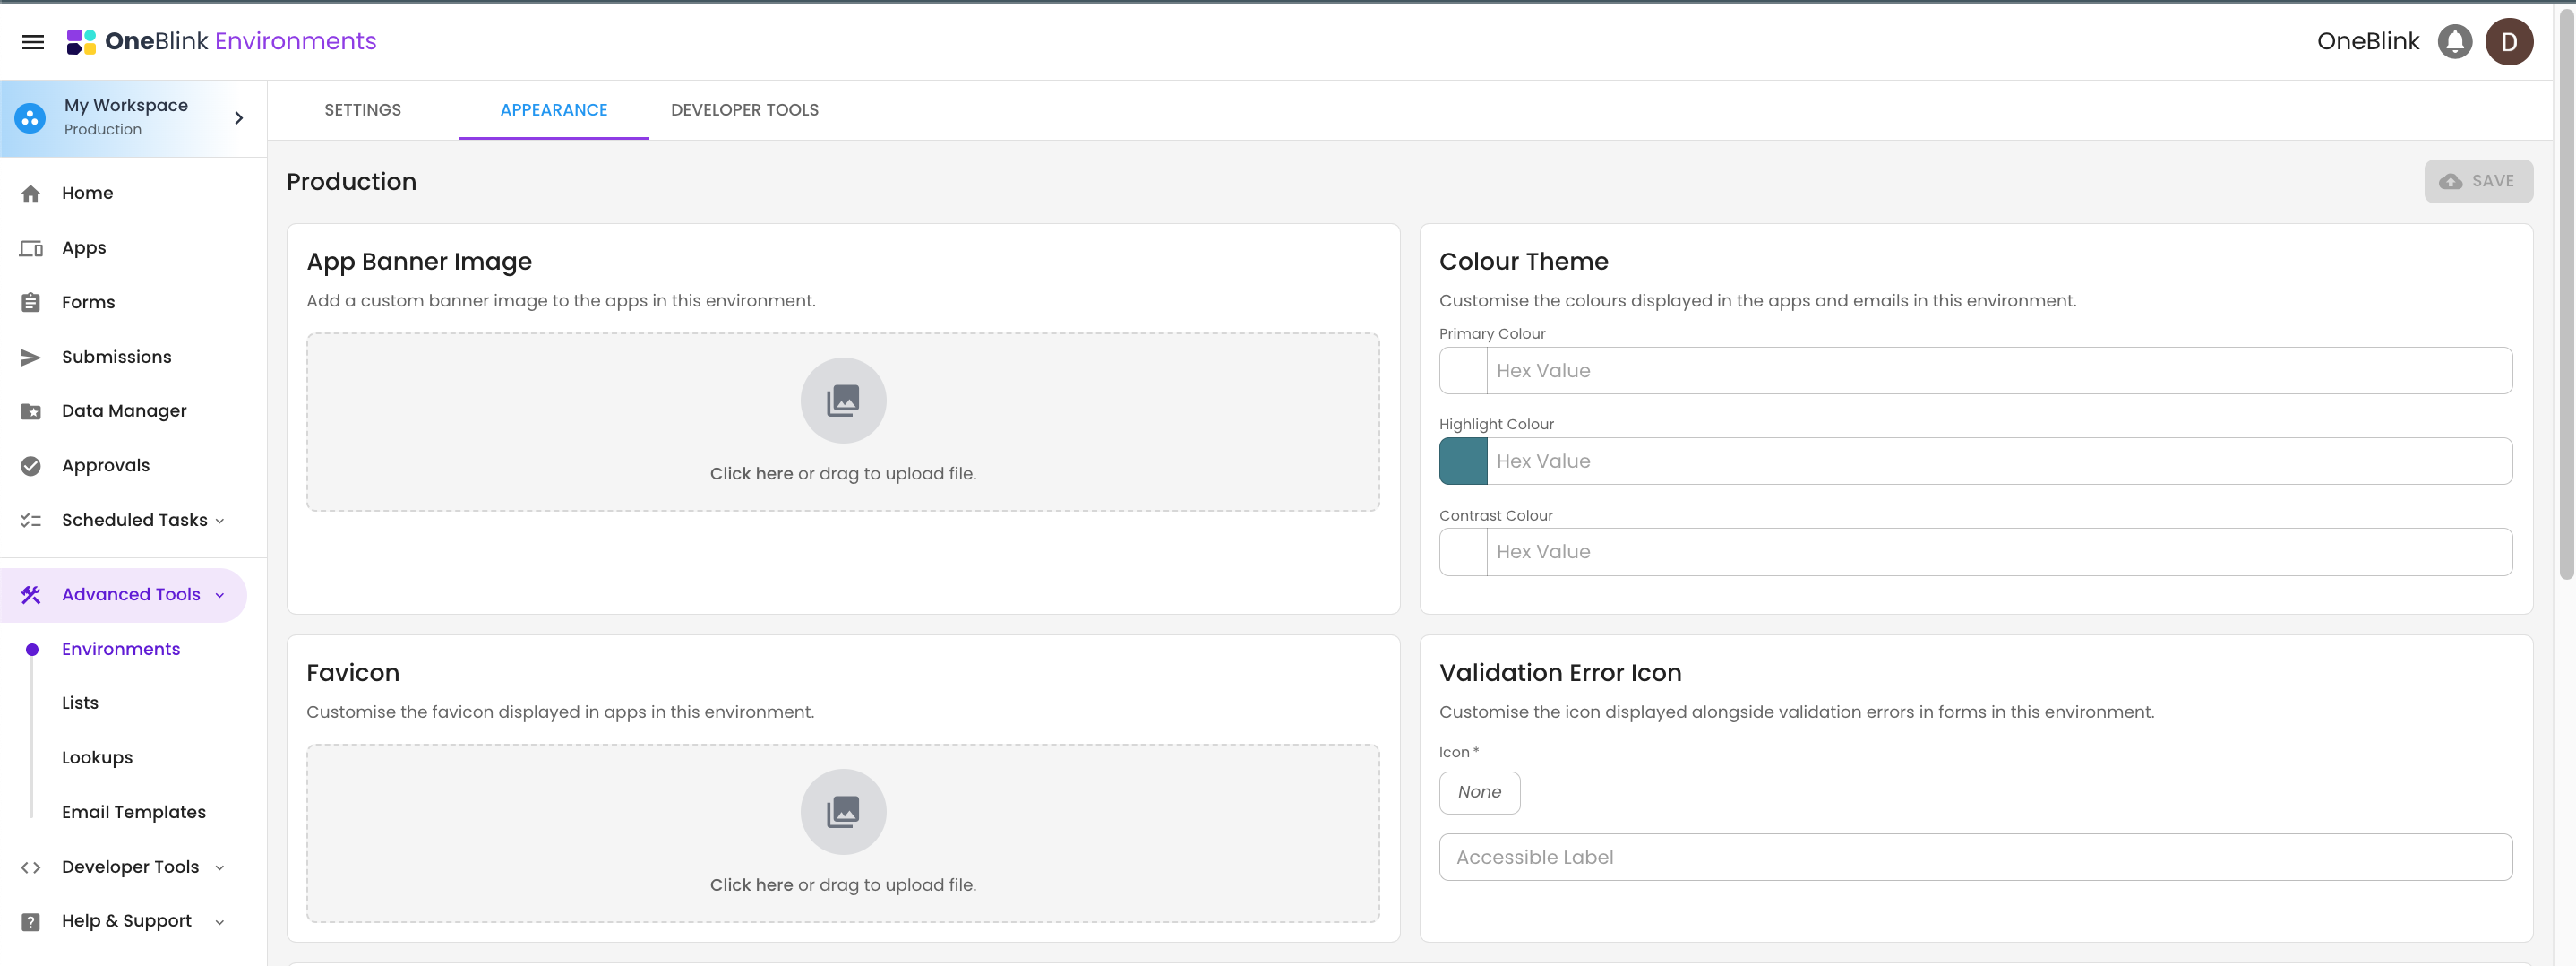
App Banner Image
The app banner is an image banner that will appear at the top of your app. The banner will also appear in the emails sent from the app, such as the welcome email for new app users and in the top right of the PDFs generated via the platform.
Colour Theme
Allows you to customise the colour palette to match your business colour scheme.
- Primary Colour: This is the colour that will appear behind the banner in a forms list app, as the top banner in a tiles app and also appears in the emails sent from the app.
- Highlight Colour: This colour is used for buttons, menu items and PDF Heading backgrounds within the app.
- Contrast Colour: This colour is used for any text or icons used within form or app buttons and PDF Heading text. It is important to make sure the highlight colour and the contrast colour have an accessible amount of contrast.
To see where and how the banner image and colours are used in apps and emails, please see the examples below.
Environment Appearance Configuration

Form List App

Tiles App

Emails


Buttons
The button configuration will allow you to customise the text of the button and add an icon, making them better suit your forms.

Styling Apps
Styling configuration with the App Builder menu is the same as styling within the environment. The difference is that the changes made to the app will only affect that app, whereas changes to the environment will affect all apps within that environment.
Inheriting Configuration
When you have an environment styling configuration, you will be able to see it in the App Builder. The configuration is being inherited if it includes an inherited icon, see below. This configuration can then be overwritten at the app level.

PWA (Progressive Web App) Settings
Progressive web app (PWA) settings are configured on the App Settings tab. Once these are configured users accessing the app on a browser will be prompted to download the app to their device. The configurations for the PWA are outlined below:
- App Name: The name of the app as it appears on your device's home screen.
- Splash Screen Name: A title that appears on the splash screen when the app is opened.
- Icon: The icon for the app that appears on your device's home screen and also the image that appears on the splash screen. To help generate an icon, you can use this link.

Advanced Styling
You are also able to add your own CSS to forms and apps. To use Advanced Styling, open the Developer Tools menu on either the Environment or the App you would like to add styling to. Please note that all Environment styling will be inherited by the apps within the environment. This styling can then be added to by adding to the App CSS.
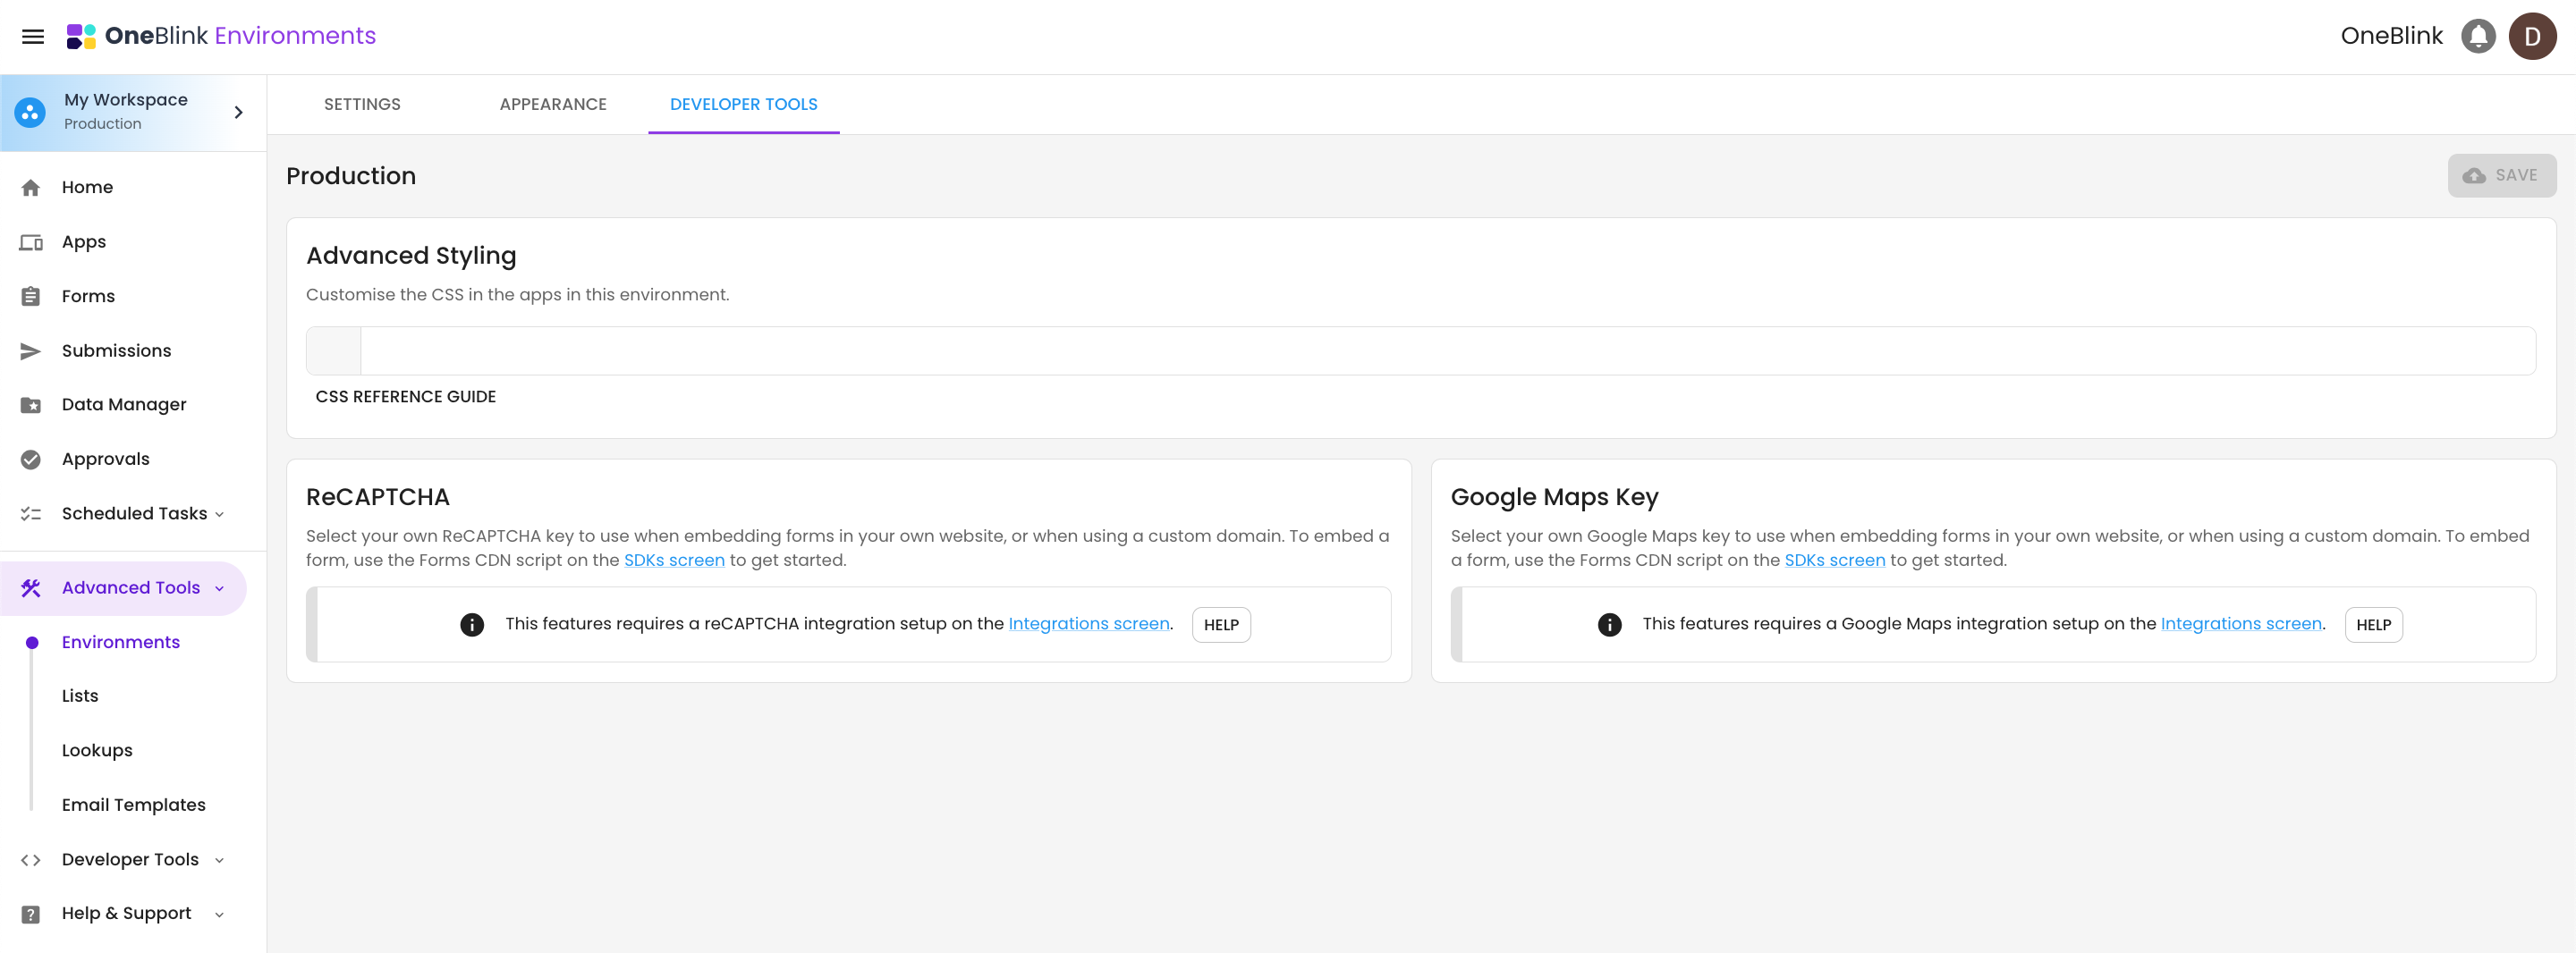
Clicking into the Advanced Styling input will allow you to start adding any CSS that you would like to add to your apps and forms.
To see the class References, press the 'CSS Reference Guide' button. To save and view your CSS code, use the 'Save' button, and then open the app.
CSS Classes
To help make it easier to target specific forms and elements, we have added targetable CSS classes to the platform.
Form CSS Classes
To add a CSS class to a form, navigate to the form and open the Developer Tools tab. From here, you can enter any CSS class you would like.

Form Element CSS Classes
To add a CSS class to a form, navigate to the form, open the Builder tab, select the element and navigate to the advanced section for that element. From here you can enter any CSS class you would like.

Some CSS Examples

Get Help
If you have any questions or would like assistance with styling, please contact us via this support portal or email support@oneblink.io. We are happy to assist in any way we can.
Was this article helpful?
That’s Great!
Thank you for your feedback
Sorry! We couldn't be helpful
Thank you for your feedback
Feedback sent
We appreciate your effort and will try to fix the article