The Calculation element allows you to complete calculations based on the inputs of elements on the form. Calculations can be performed using the following elements: number, calculation, radio button, checkboxes, select and Date & Time.
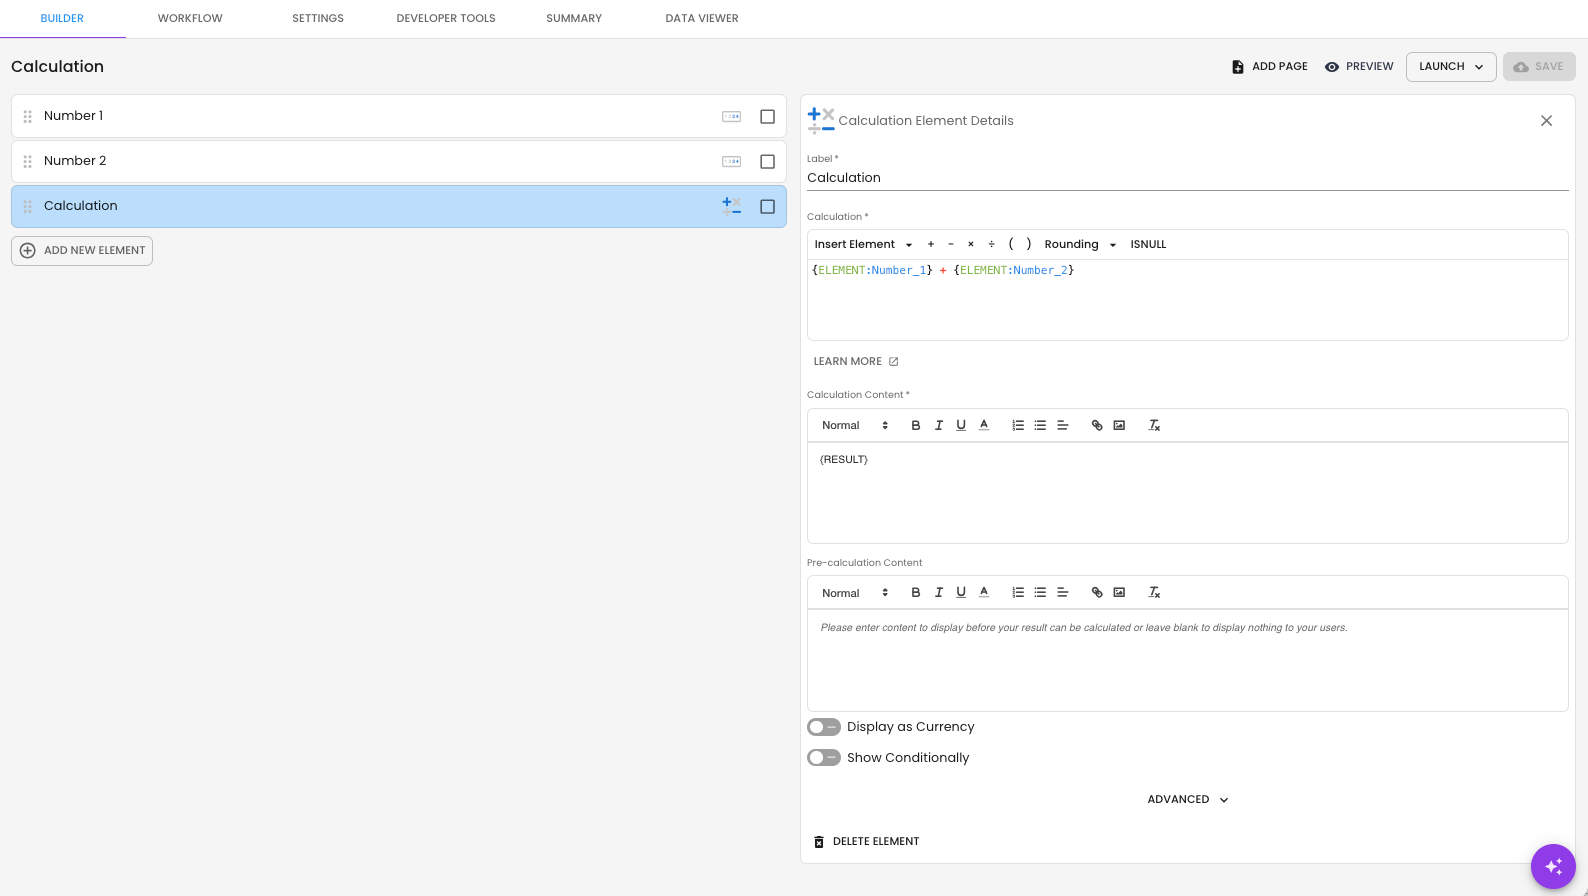
TABLE OF CONTENTS
Calculation Element
The calculation element can be used to achieve many different outcomes, from simple addition, subtraction, and multiplication to configuring conditional logic, discounts and scoring systems. Below, we will cover the different settings for the calculation element.
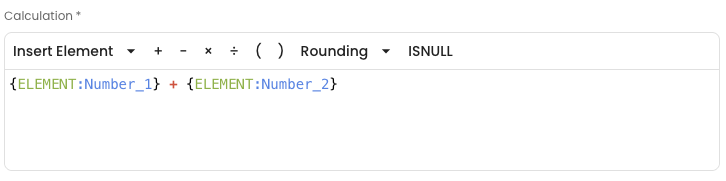
Calculation Input
This is where you create the formula for your calculation, adding elements from the form and any math expressions. In the example below, I am adding Number_1 to Number_2.
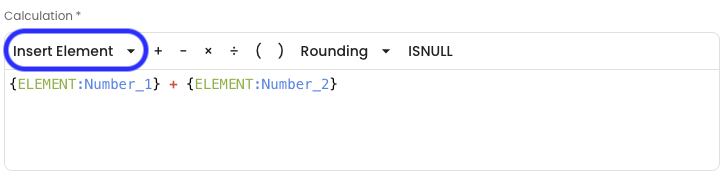
Insert Element
You have the option to directly insert elements from the form, allowing you to easily select applicable form elements to add to your calculation formula. Form elements added to the calculation formula are represented as {ELEMENT:element_name}, where element_name will be the name of the element you select.
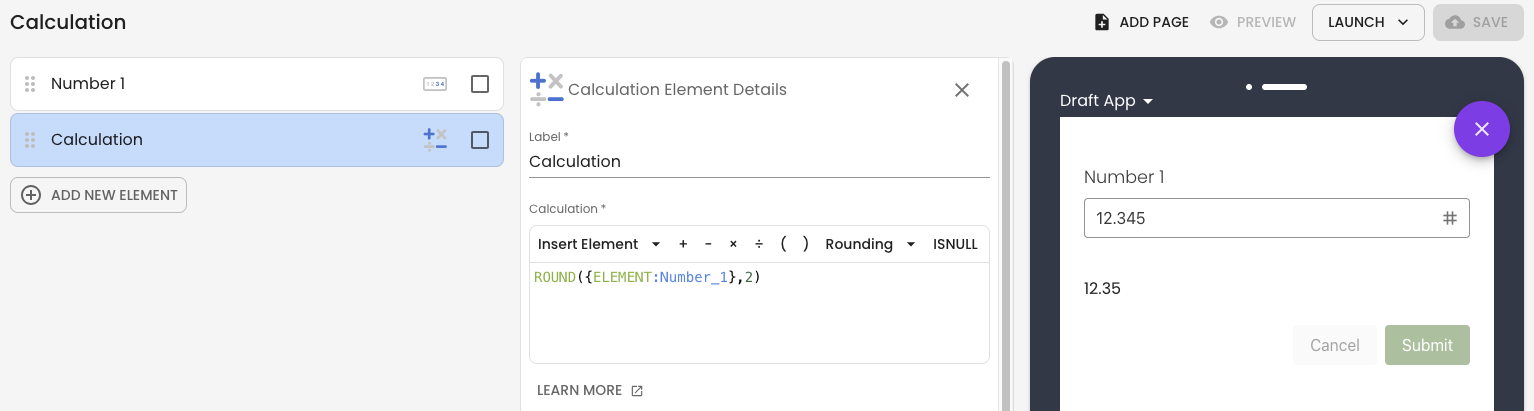
Rounding
You can round your inputs using the ROUND, ROUND_UP and ROUND_DOWN functions, allowing you to round inputs as required. ROUND allows you to adjust the number of decimal places, whereas ROUND_UP and ROUND_DOWN only round to the nearest whole number.
For example, if you wanted to round the input of your currency element to 2 decimal places, you would use:
ROUND({ELEMENT:element_name}, 2)
Null Values
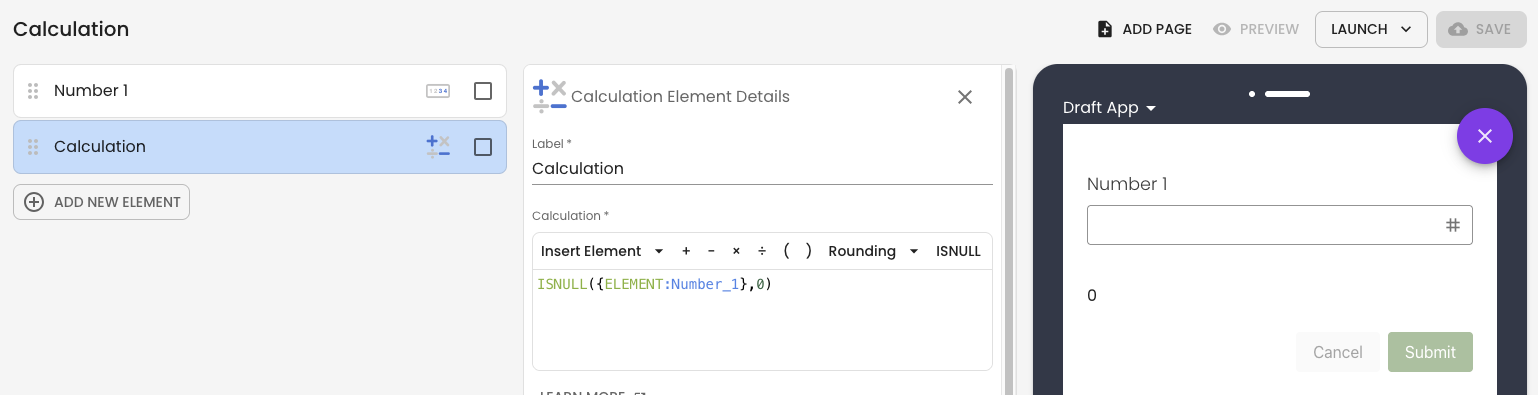
If you have elements that are optional or for which the calculation can be performed without needing all elements completed, you can use Null Values. Null Values will replace the value of the input, allowing the calculation to run as the form is completed.
In the example below, the element is treated as having a value of 0 until the user updates the element with an actual value.
ISNULL({ELEMENT:element_name}, 0)
Calculation Content
This is what will be displayed once the calculation has been completed. {RESULT} is where the result of the calculation will appear. You are able to add other text around the result to help add context to the result.
Pre-calculation Content
The pre-calculation content will appear prior to the calculation being run. This can be used to create placeholder text that will be for your results.
Example
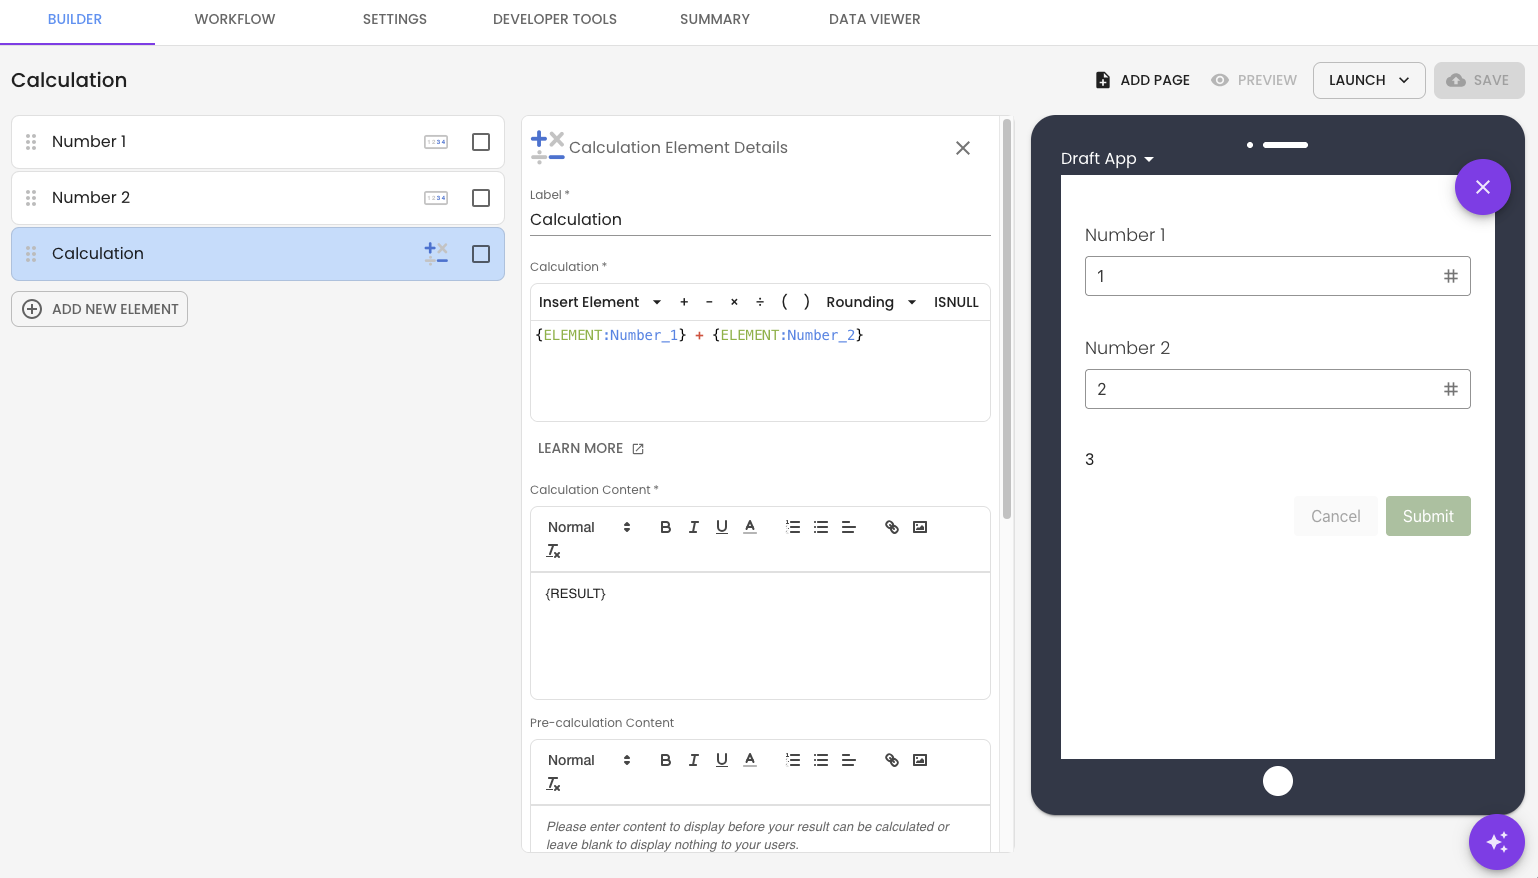
Here you can see the Calculation taking in two number elements, ‘Number_1’ and ‘Number_2 ’, and adding the two numbers together.
For the Calculation Content, we have added some helpful text before the {RESULT} to explain what is happening in the calculation. This is an optional step the only thing that needs to be displayed here is the result.
In the Pre-calculation Content, you can see we have added a placeholder to show what will be displayed once the inputs have been completed.
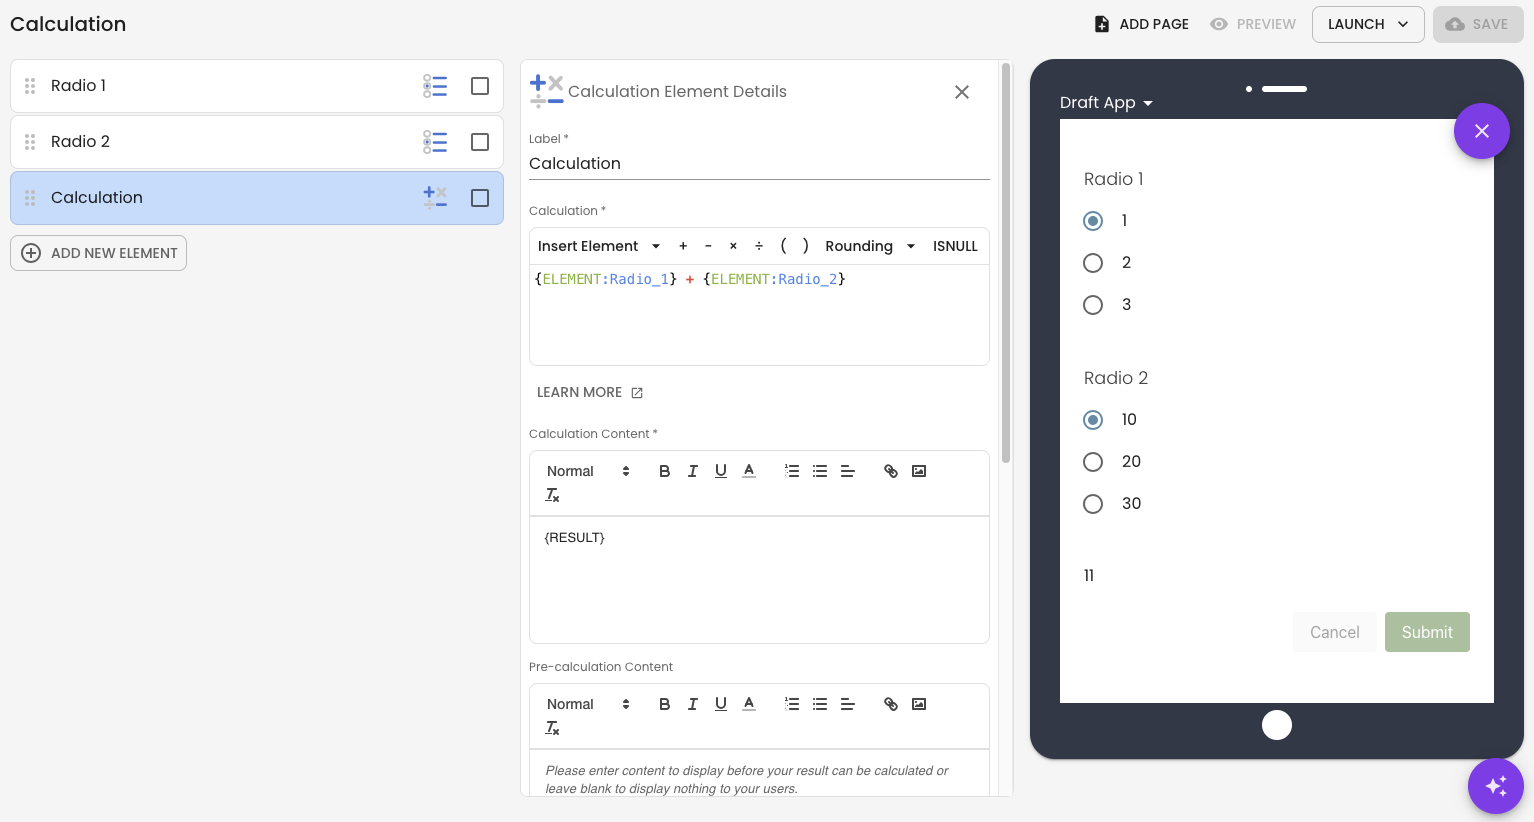
Radio Button & Select
Radio buttons and Select drop dowas are able to be used as calculation elements by using the value of the List options.
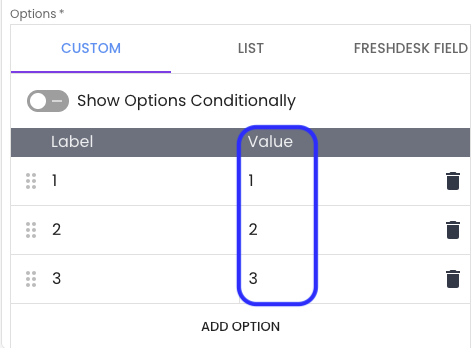
These are the values that will be used in the calculation element when the radio button or select element is completed.
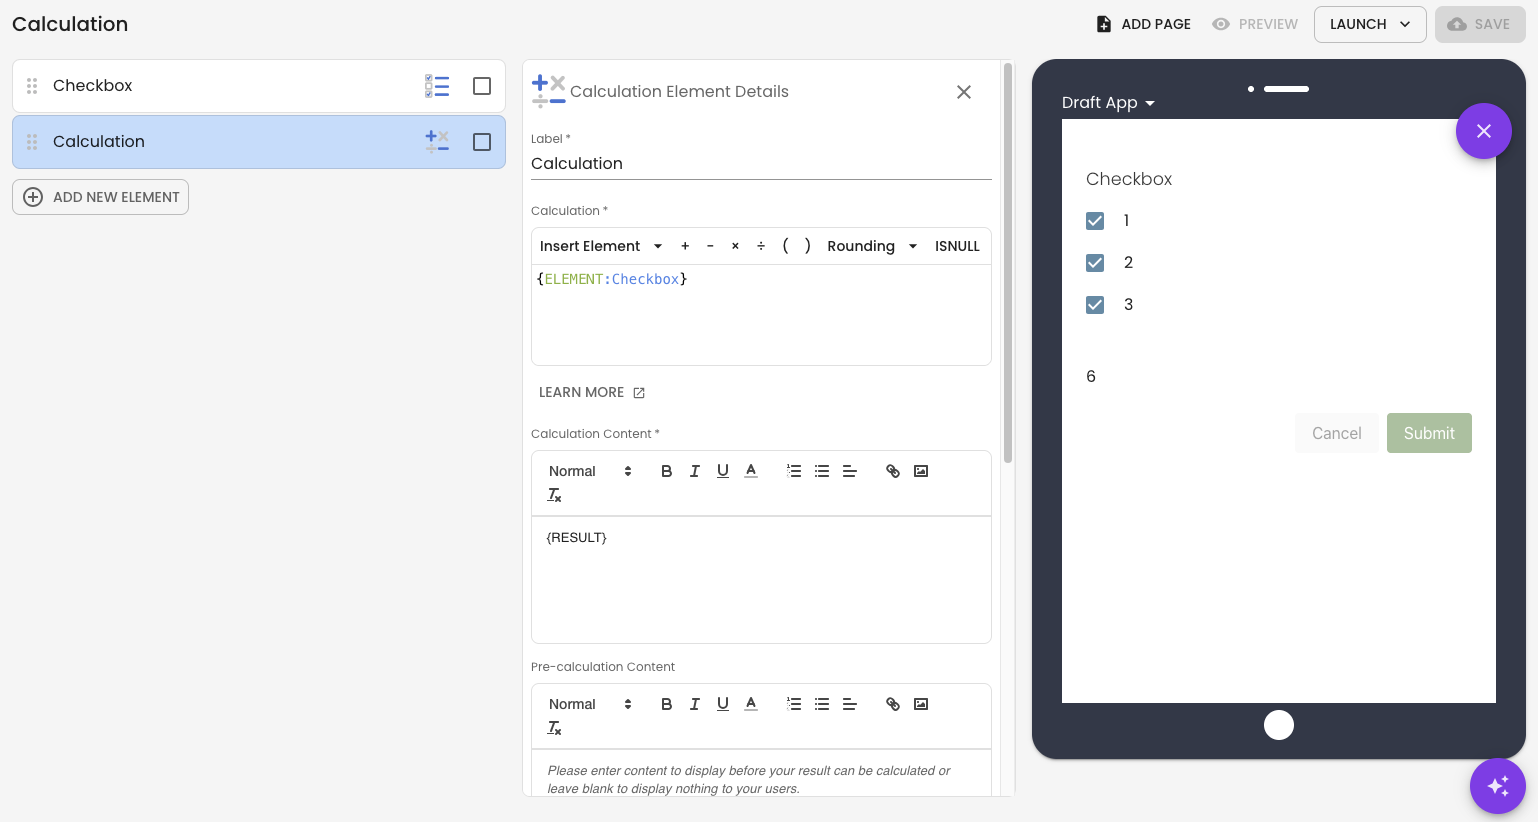
Checkboxes
Calculations can also be run using checkboxes. When using a checkbox in a calculation, the calculation will sum all the values selected in the checkbox element.
Dates and Times
Date and Time elements can be used in calculations. They are inserted into a calculation element and can be used for a variety of circumstances. Some examples are calculating the time difference between days or how much time an event took.
Date and Time calculations use Epoch Unix timestamps, which are represented as a number, specifically the number of milliseconds since Jan 01 1970 (UTC). Meaning when calculating the difference between times, you will need to divide the result in order to get the increment of time you are looking for. For example, in Example 1 below, the result is measured in hours, so the difference between the end and start times is divided by 3,600,000 (the number of milliseconds in 1 hour).
Getting Help
If you need any assistance with calculations, please reach out through the Report Issue menu or email support@oneblink.io.
Was this article helpful?
That’s Great!
Thank you for your feedback
Sorry! We couldn't be helpful
Thank you for your feedback
Feedback sent
We appreciate your effort and will try to fix the article