This article explains how to embed a OneBlink form with a payment workflow event into your website.
TABLE OF CONTENTS
- Embedding the Form
- Creating a Payment Receipt Page
- Configuring the Payment Receipt Script
- Configuring the Done Button
- Getting Help
Embedding the Form
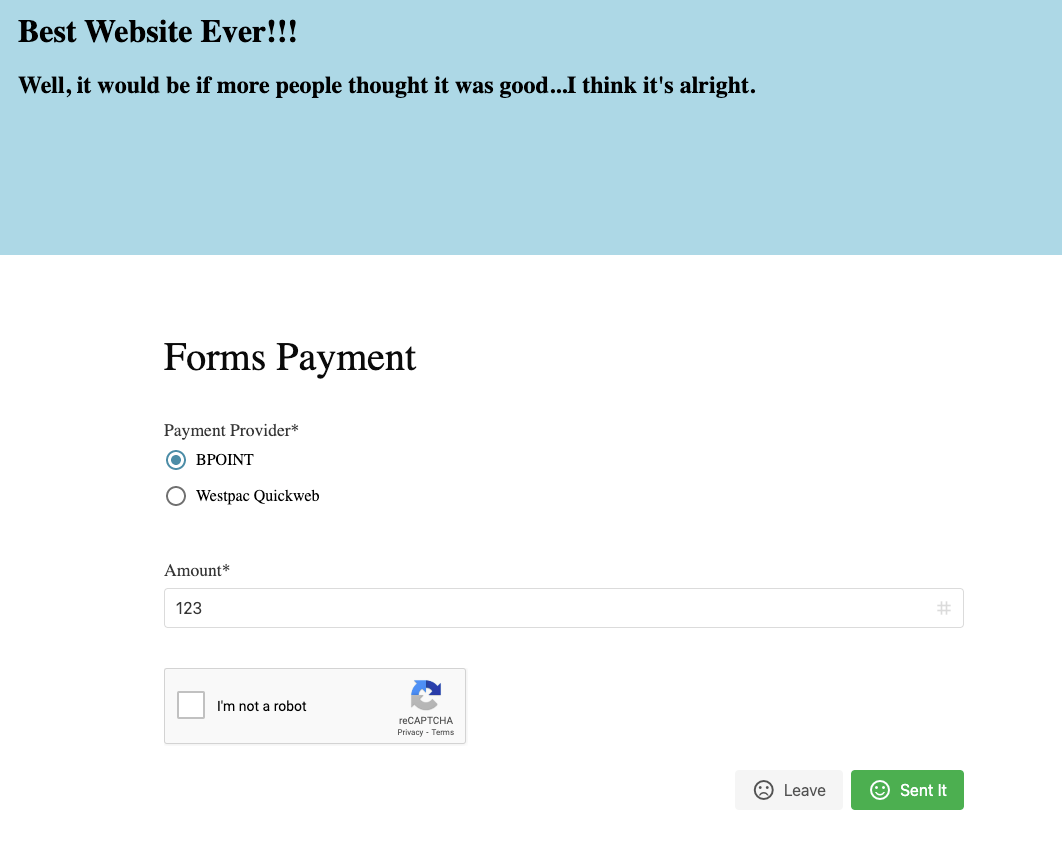
Before configuring payments, embed the form into your website using the website embed script.
For instructions on embedding a form, check out the Embed Form into Webpage article.
Creating a Payment Receipt Page
To embed a form with payments, you will need to create a payment receipt page on your website. This is the page users are redirected to after completing a payment.
Ensure the paymentReceiptUrl in your website script points to your receipt page.
Configuring the Payment Receipt Script
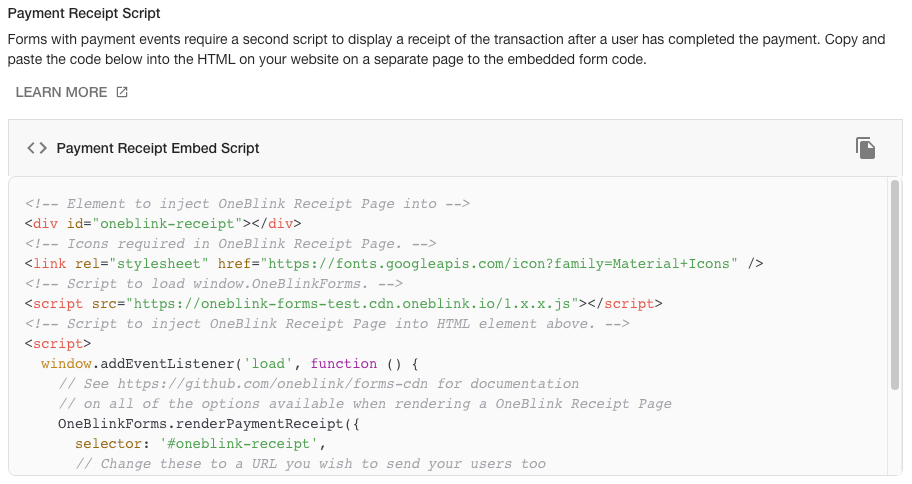
Copy the Payment Receipt Embed Script from the OneBlink LcS. This can be found in either:
- The summary page of your form
- The SDK menu, by clicking the Generate Script button on the Forms CDN card
The form must have a payment workflow event for the Payment Receipt Embed Script to display.
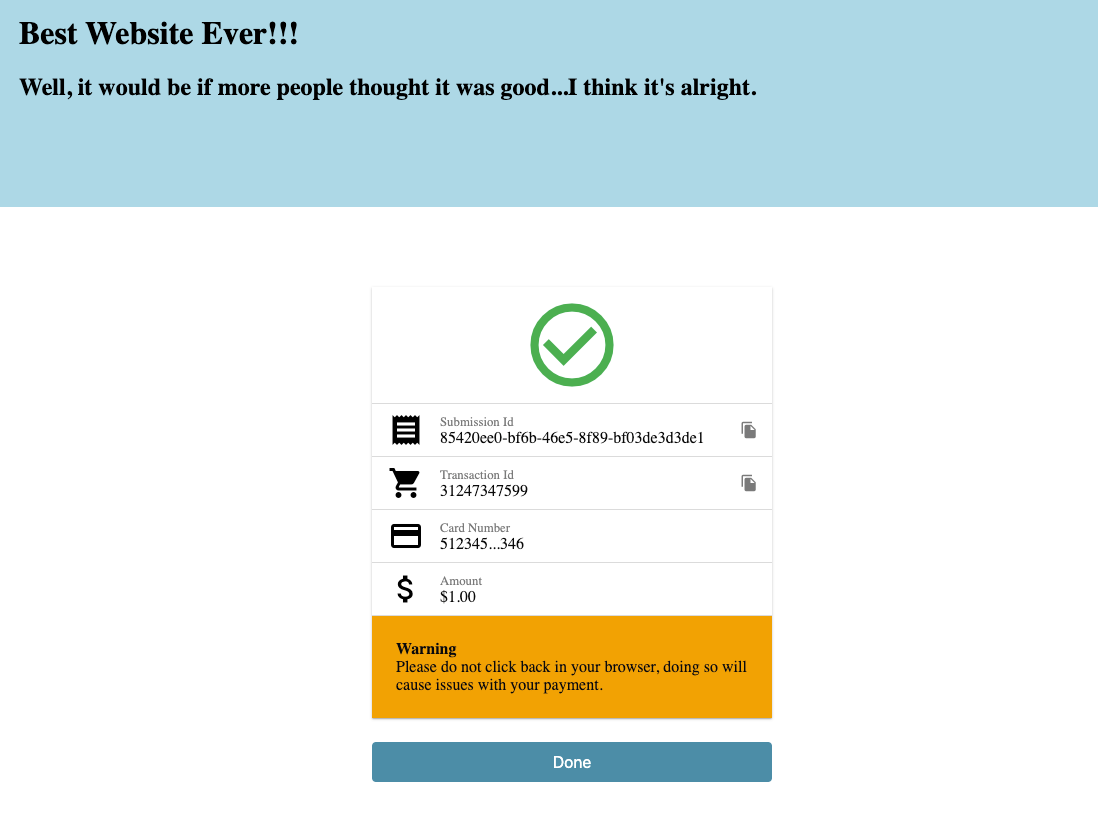
Once the Payment Receipt Embed Script has been added to your receipt page, users will be able to see the receipt content displayed on that page.
Configuring the Done Button
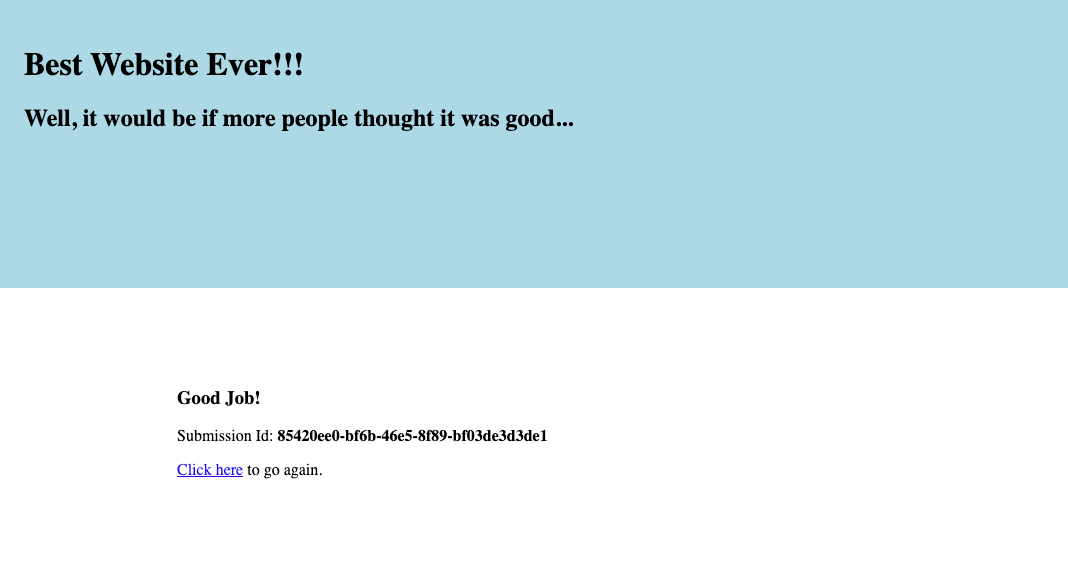
The Done button on the receipt page can be used to redirect users after the payment has been completed.
To configure this, update the doneRedirectUrl in the Payment Receipt Embed Script.
Getting Help
If you need any assistance with embedded forms with payments, please reach out through the Report Issue menu or email support@oneblink.io.
Was this article helpful?
That’s Great!
Thank you for your feedback
Sorry! We couldn't be helpful
Thank you for your feedback
Feedback sent
We appreciate your effort and will try to fix the article