Scheduled tasks allow for the creation of Tasks that can be completed within a Daily, Weekly or specific date timeframe. These tasks can then be marked as completed or can include a form workflow. For more on this feature, continue reading below.
TABLE OF CONTENTS
- How to Create Tasks
- Task Group Instances
- Applications
- App Menu Items
- App Assigning Tasks/Groups/Instances
- Getting Help
The configuration for Scheduled Tasks is accessible from the Scheduled Tasks menu. Clicking the Scheduled Tasks menu will display the Tasks, Actions and Groups menus.

Tasks
You can view, modify and create scheduled tasks and set scheduled tasks attributes from this menu.
Actions
Scheduled Task Actions (e.g. Complete Task, Raise Defect) can be configured from this menu.
Groups
Scheduled Task Groups and Instances can be configured from this menu. A Group has one or more scheduled tasks configured.
Task Relationships
The system supports specific relationships between Tasks, Actions and Groups, which are described below.
- A Task can have one or more Actions assigned that enables the user to pick one of the assigned Actions when undertaking the Task.
- An Action can be assigned to one or more Tasks, as typically different Tasks will be configured with the same Action.
- A Group can be assigned one or more Tasks. The Group provides the ability to more easily manage a set of Tasks.
How to Create Tasks
A scheduled Task is a task that has been configured and scheduled to be undertaken on a specific date. The Task is configured with a predefined frequency (daily, weekly, or custom).
1. Select the Tasks menu item displaying your task list.
2. Click the button to Add (+) button in the bottom right of the screen.
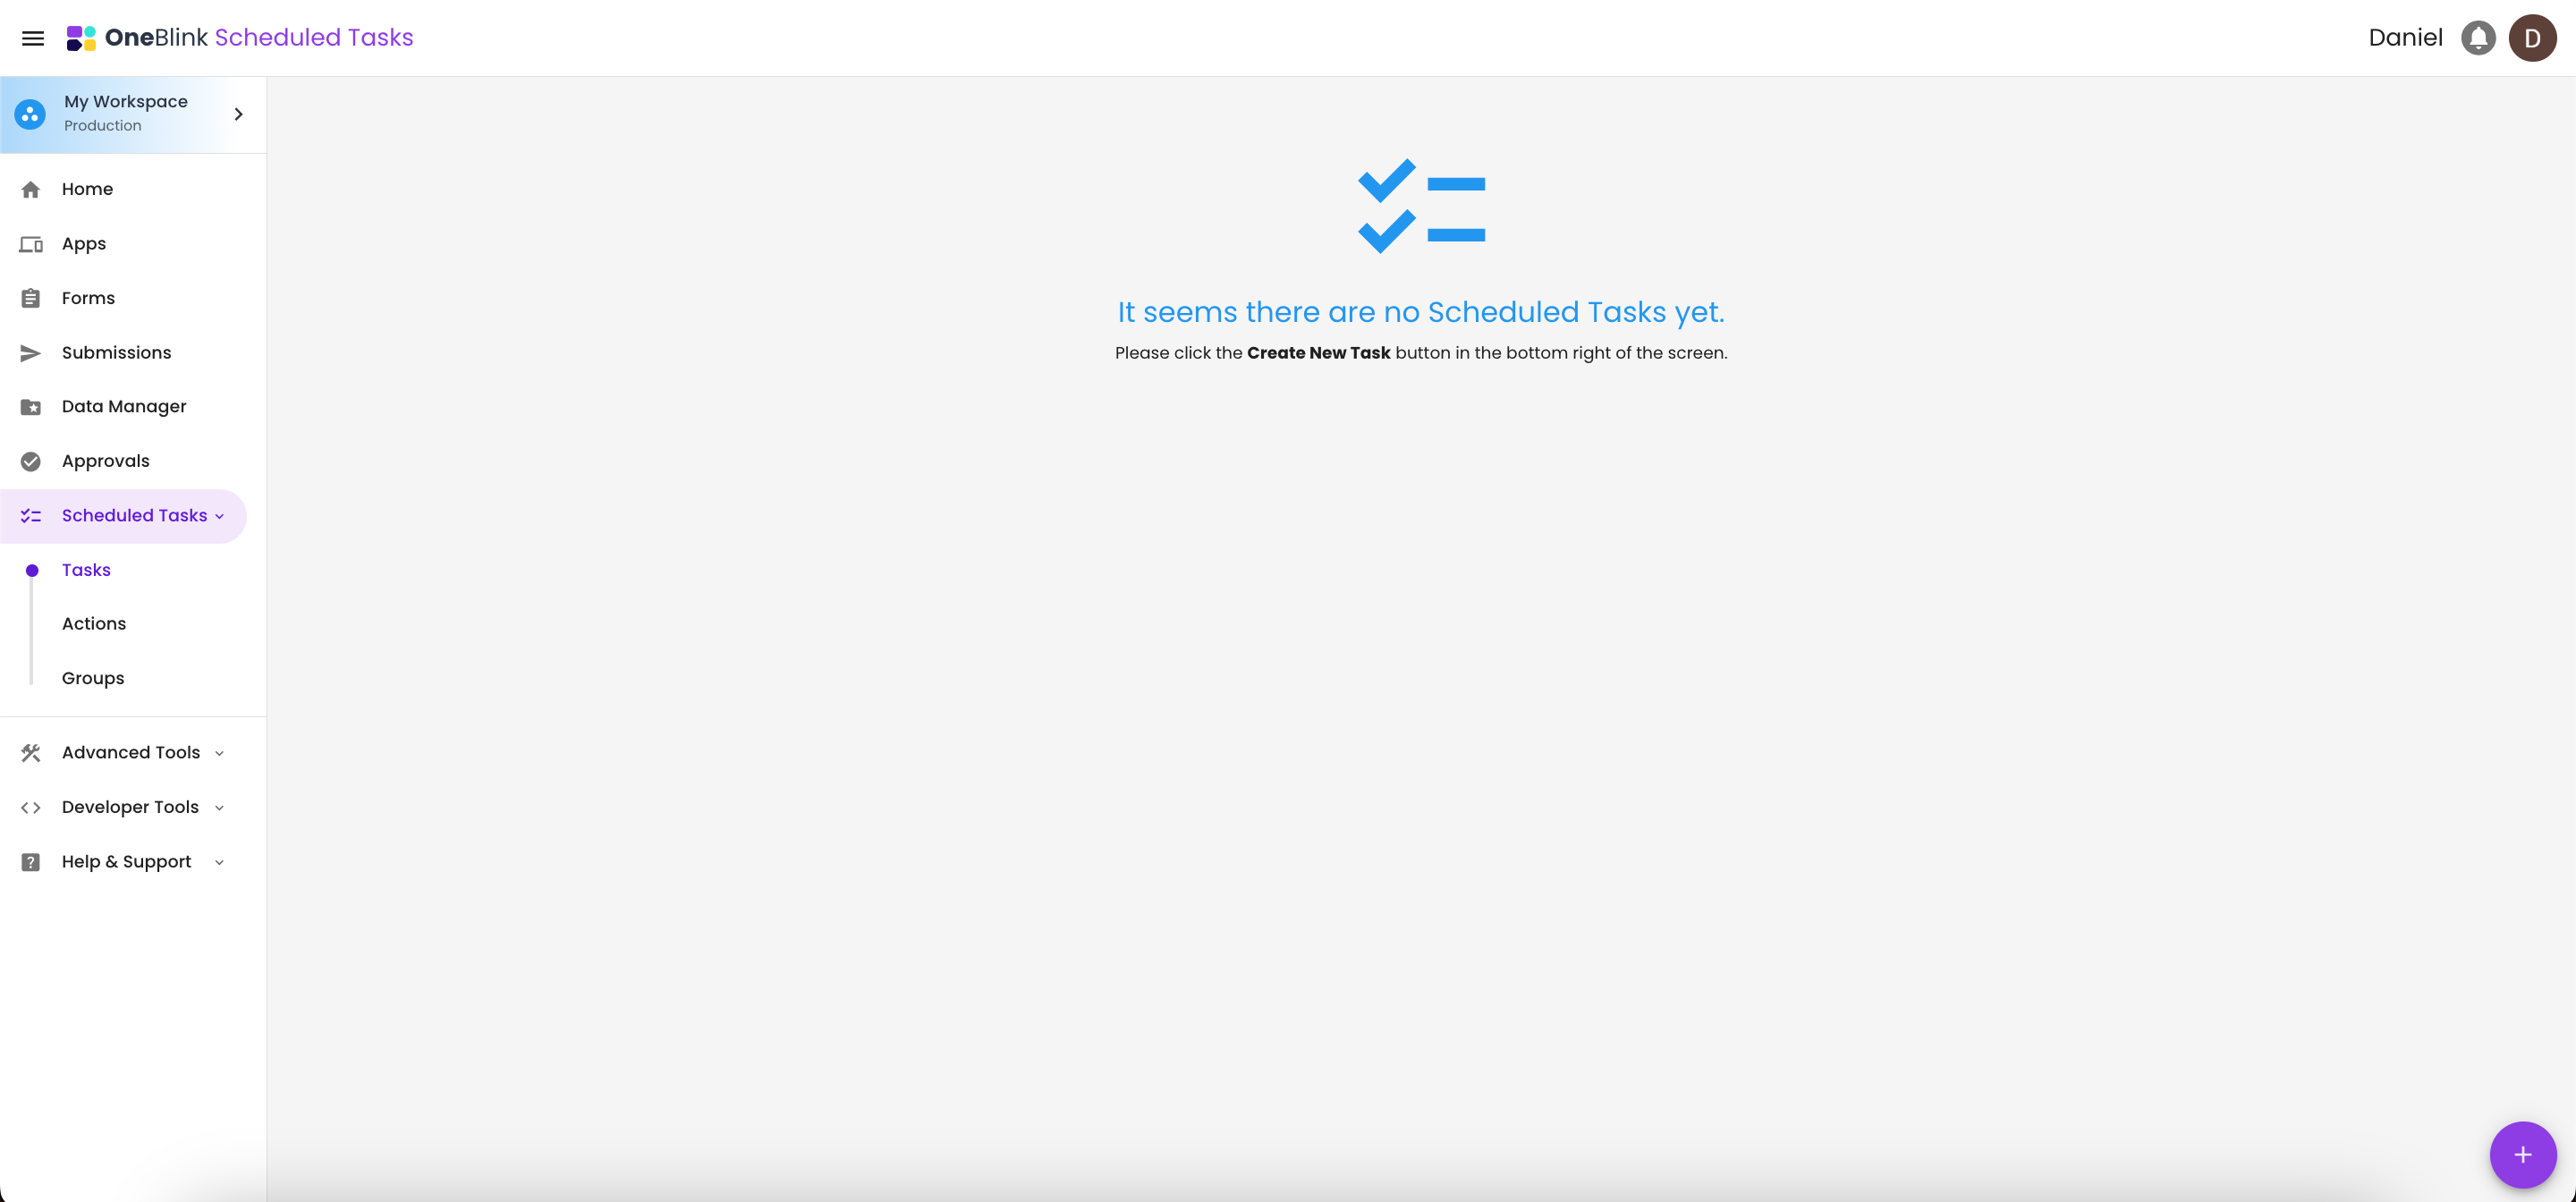
3. The New Task screen will appear and can be used to configure different attributes relevant to a task.
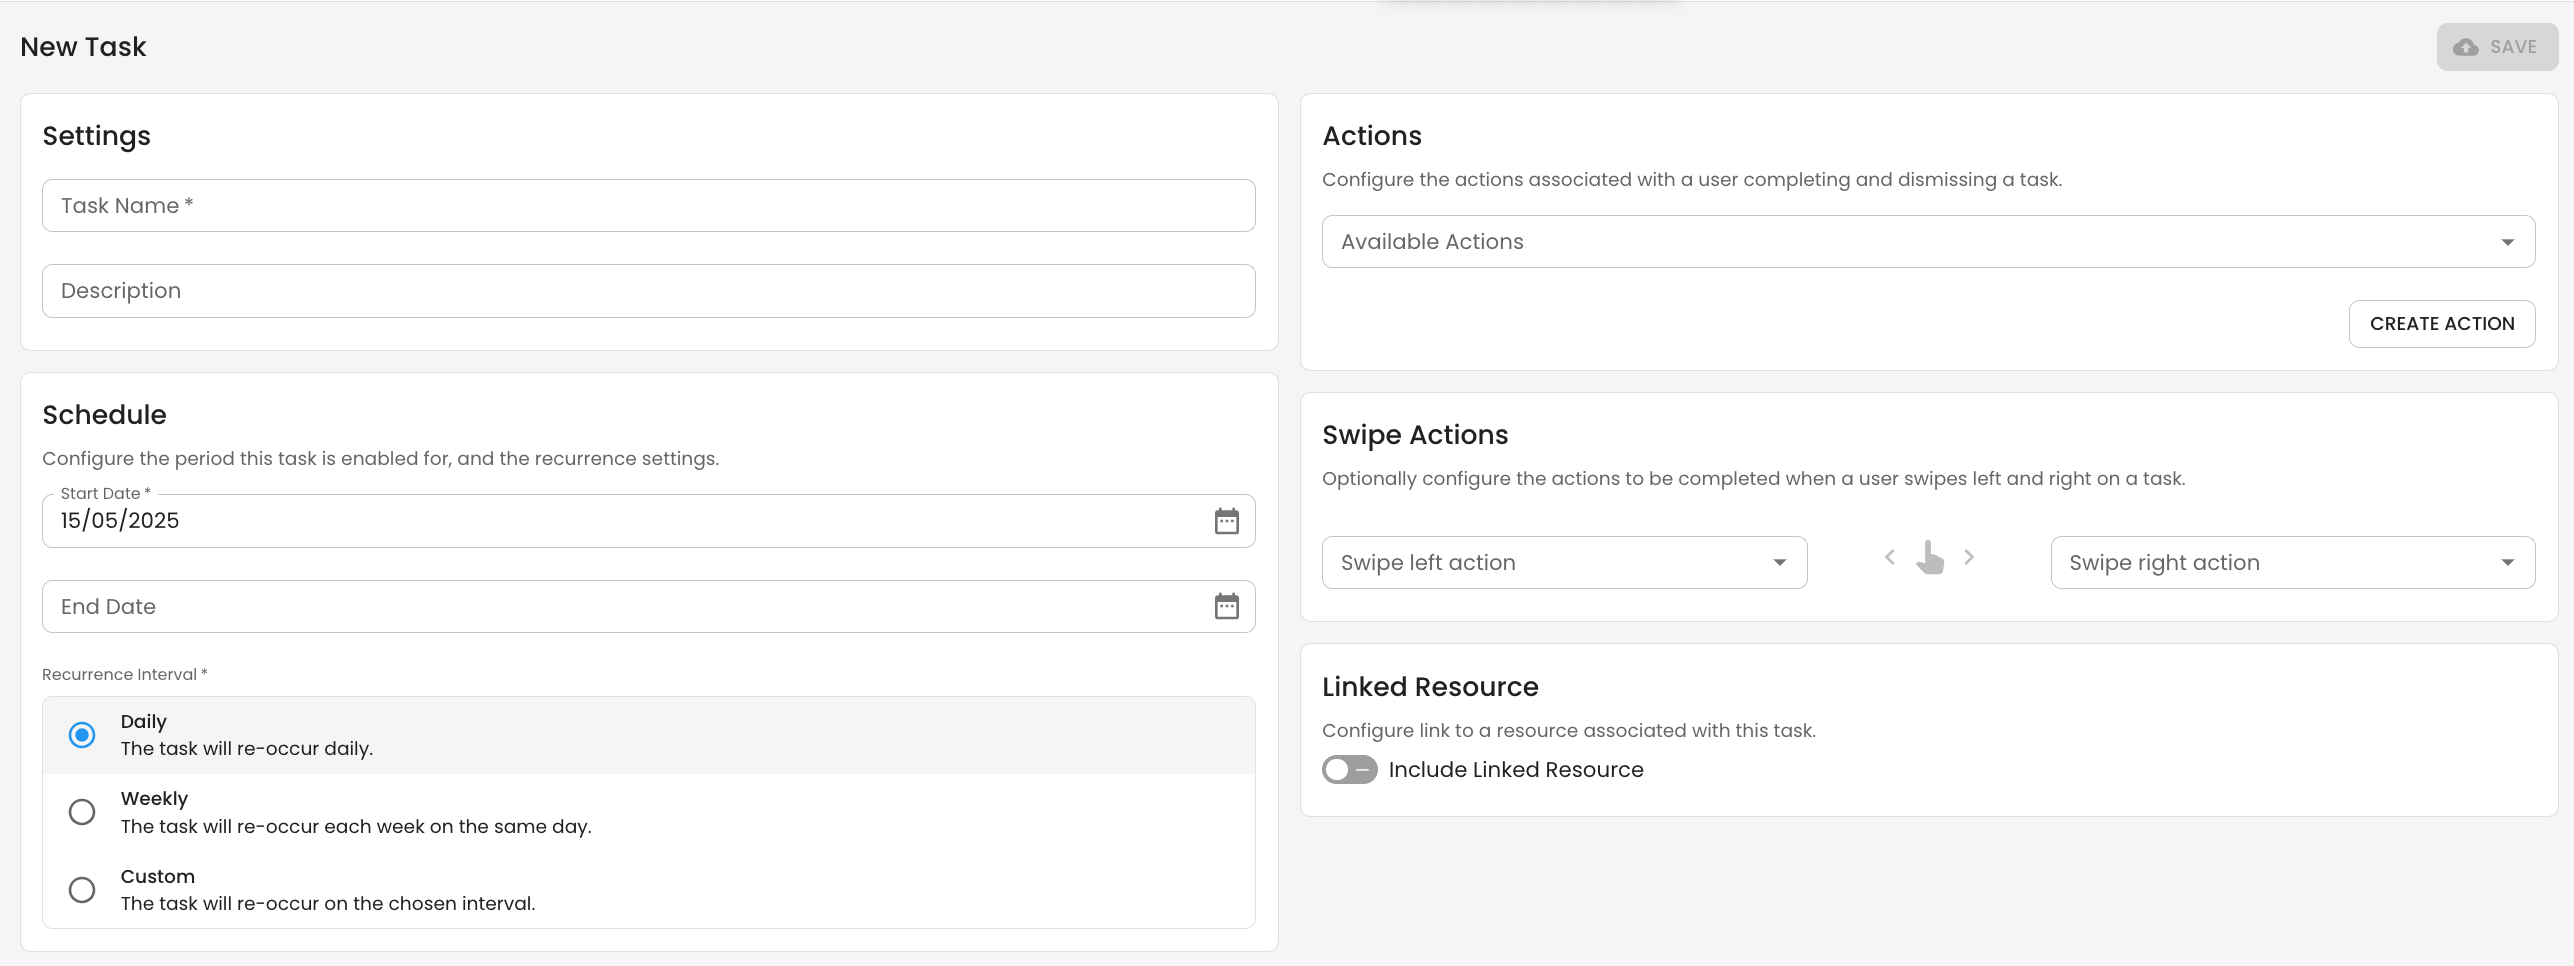
Task Name
You can provide a name for the task (this is the label that will be presented to the user).
Task Description
You can define a description for the task.
Start Date
You can define when the task should start to be scheduled
End Date
You can optionally set the end date for a scheduled task (if you want to stop the task from being scheduled after this date).
Recurrence Interval
The scheduled task interval can be defined as either
Daily - The task will be scheduled every day of the week
Weekly - The task will be scheduled on the day of the week that you select
Custom - The task will be scheduled at the custom interval defined (in days)
Actions
To assign actions to a task, simply click the Available Actions drop down and a list of previously configured actions will be displayed. If no actions have been created, you can create them through this menu. For more on creating actions via the action menu, check out the How to Create Actions section below.
Swipe Actions
Actions are displayed as buttons on each task in the app. Swipe actions allow you to trigger specific actions when either swiping the task left or right.
Linked Resources
Linked Resources allow you to add a URL link to tasks, enabling access to essential information such as policy documents, equipment details, instruction manuals or any information needed for the completion of the task.

How to Create Actions
1. Select the Actions menu item displaying your Action list.
2. Click the button to Add (+) button in the bottom right of the screen.

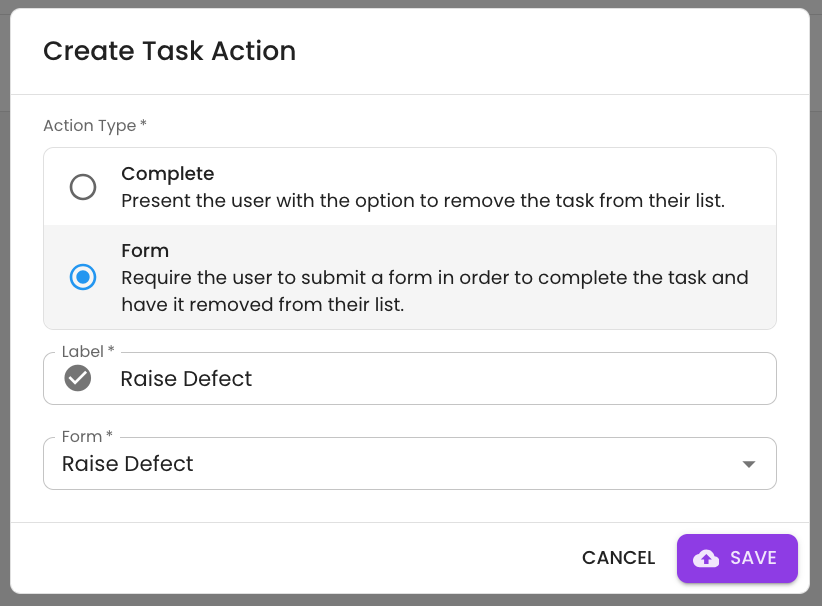
3. The New Action pop-up will appear and can be used to configure different attributes relevant to your action.
Action Type
Choose the type of action you want to create
- Complete Action: A complete action simply removes the Task from the task list, marking it as complete.
- Form Action: A form action allows you to select a form; this form must be completed before the task is marked as completed in the list.
Label
You must configure a label for the Action.
Icon
You can also configure an Icon that is associated with the action.
Form
This is where you select which form you want the user to submit when completing the form action.
How to Create Groups
1. Selecting the Group menu item displaying your Group list.
2. Click the button to Add (+) button in the bottom right of the screen.
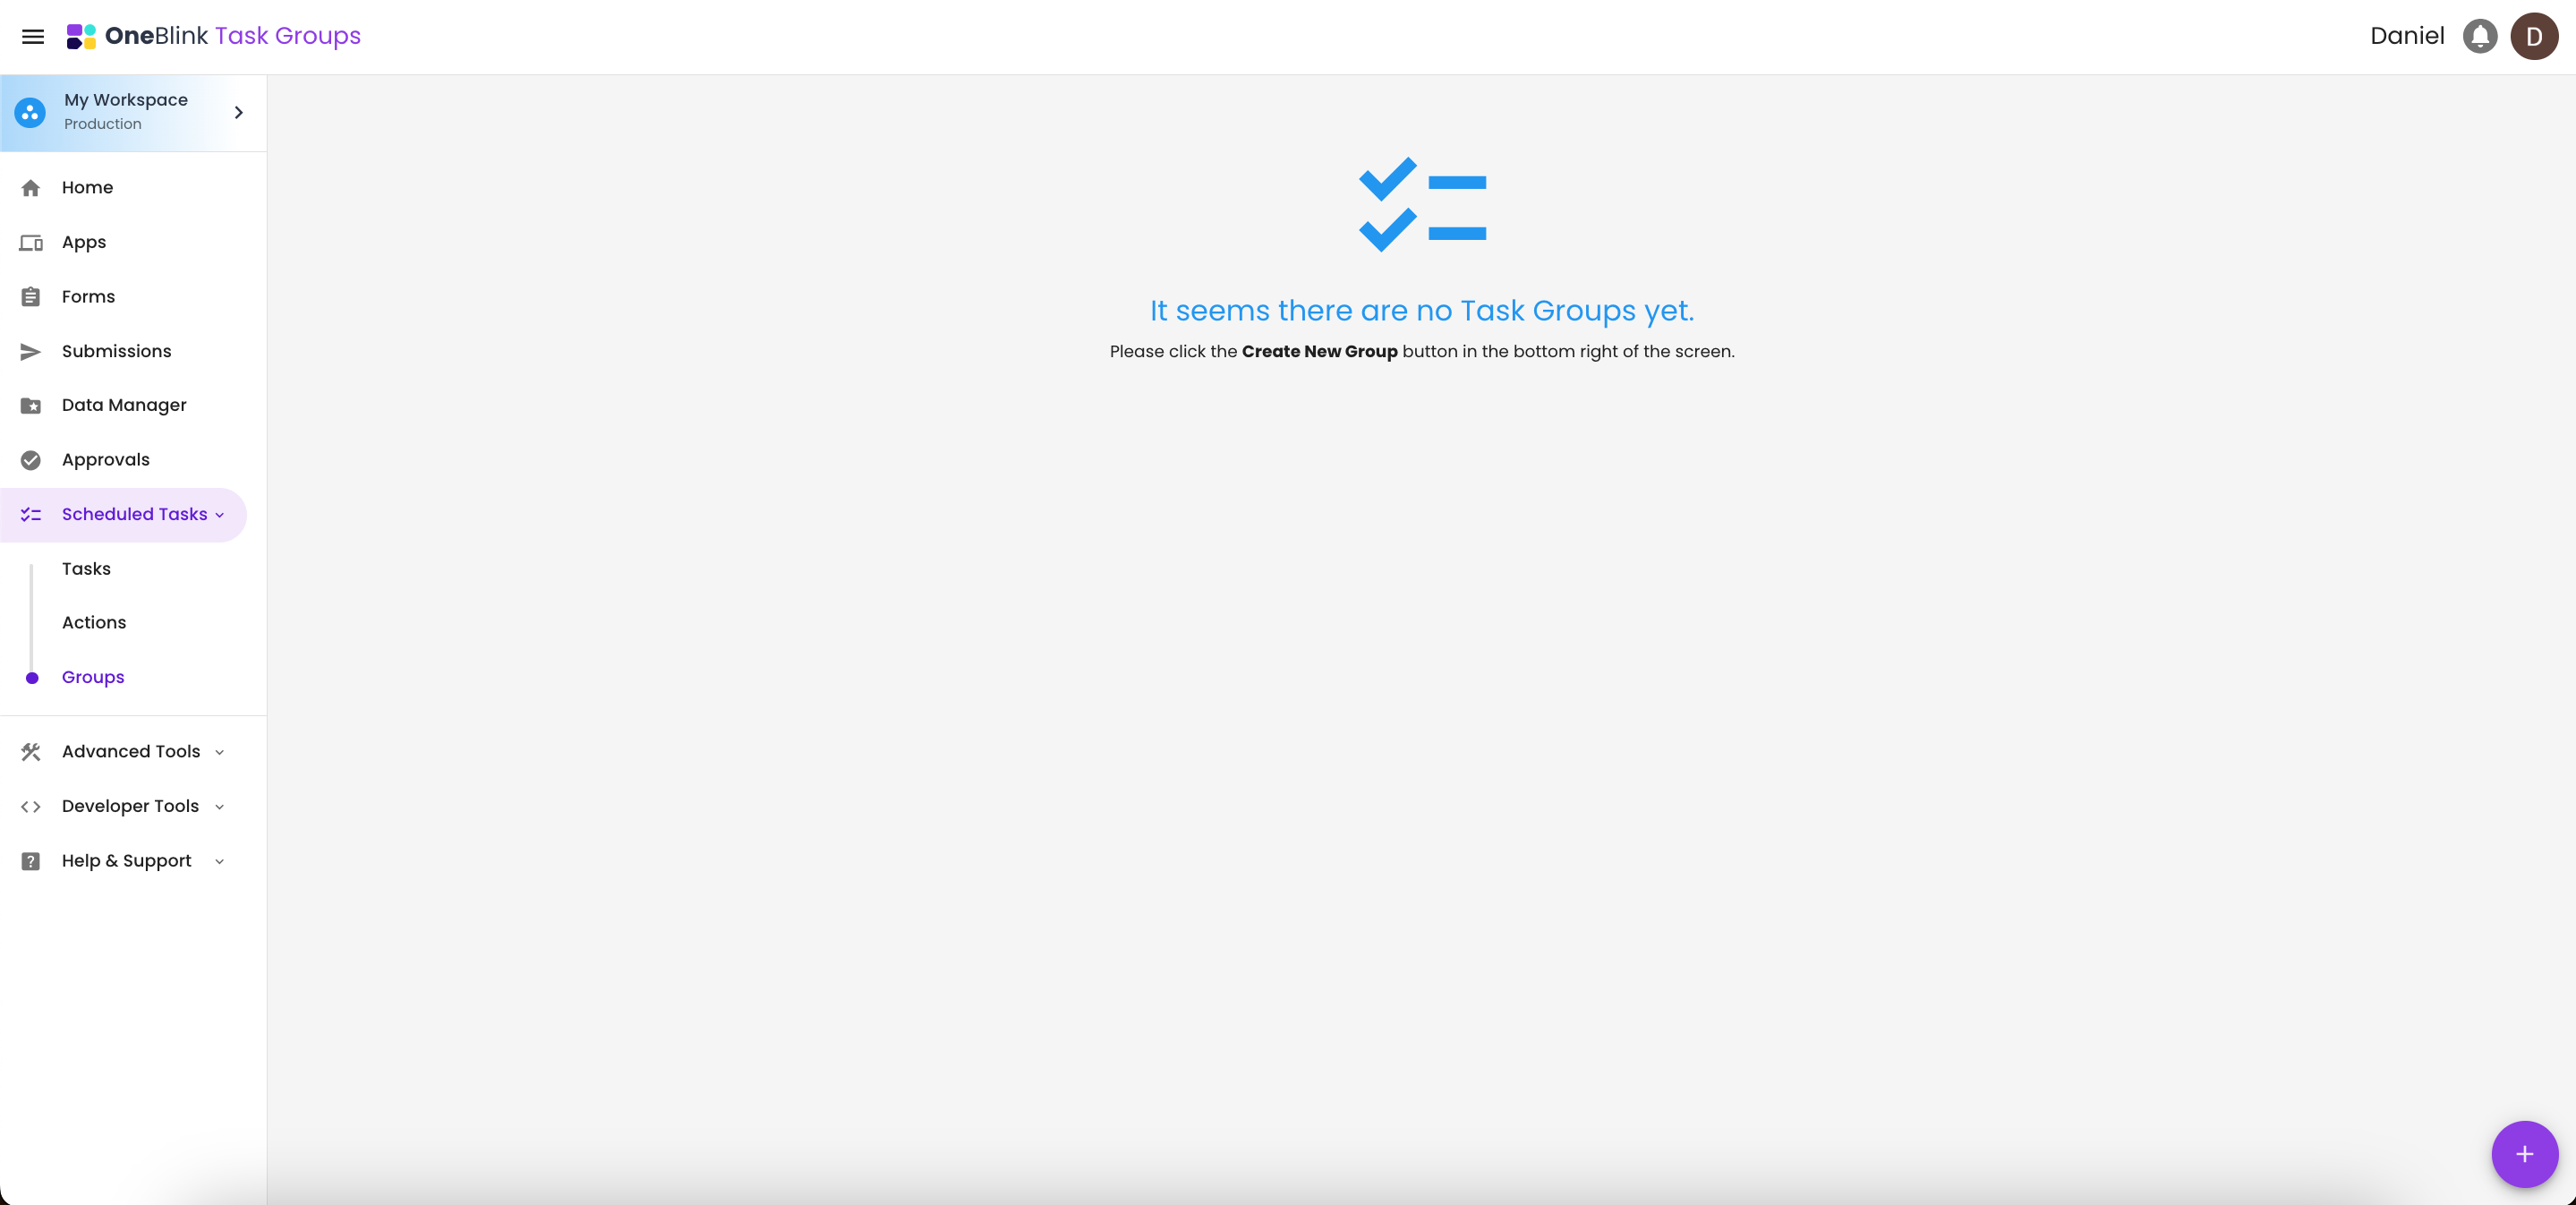
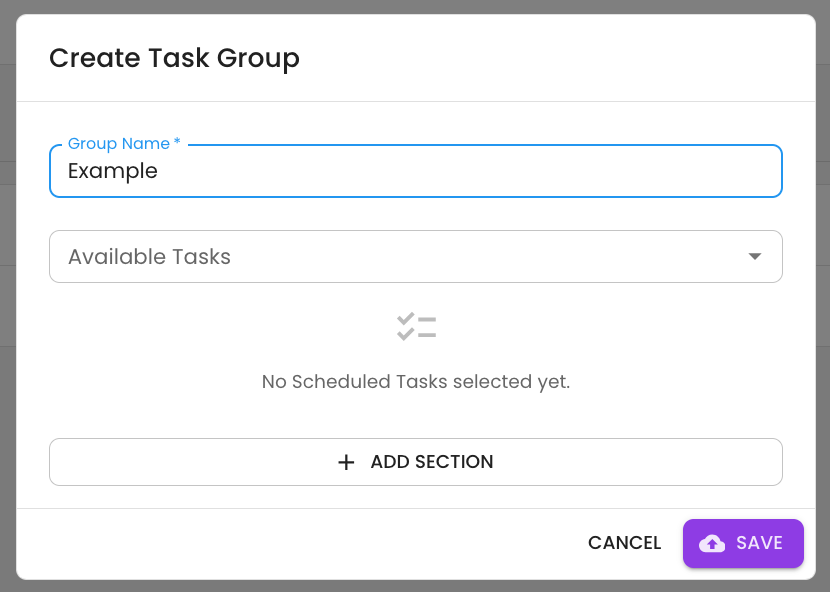
3. The New Group pop-up will appear and can be used to configure different attributes relevant to your group.
Group Name
Enter the name of the Group.
Available Tasks
Select one or more scheduled tasks that are part of the groups.
Task Group Instances
A task group instance is a way of identifying a specific occurrence of a group. The creation of instances allows you to more easily create and manage the usage of scheduled tasks.
A real-world example of groups and instances would be a fleet of vehicles (instances) of one or more types (groups).
Group Instance
Car ABC123
Car DEF456
Motorcycle AU16UA
Motorcycle PD17DP
For example, we are going to assume that the scheduled tasks undertaken on a car and motorcycle differ slightly (the car has an Air Conditioning check that isn’t relevant for the motorcycle).
As you have seen, we can create a task group with tasks specific to cars and a separate task group with tasks relevant to the motorcycle.
By setting up the task groups, you can easily add more cars and motorcycles as instances. Each instance will inherit the tasks that have been configured for the task group that has been associated with the instance.
To create a new Instance, click the + symbol within the relevant group and enter a name for the instance and click Save.
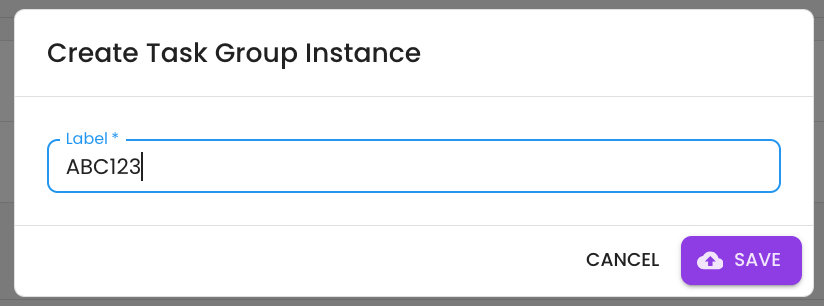
Your new instance will be created within the group that you added the instance.
Once you have finished creating groups and instances, we can complete the final step to allocate the instances to applications (after you have configured an application).
Note: It is not possible to allocate an instance to an Application from the Groups screen; it must be configured by each Application.

Apps
An App is a container that enables users to access different features and content that has been configured by an Administrator.
- Click Apps from the left-hand menu to view a list of Apps.
- Click Manage to configure the App.
- Click Content tab to manage the App content.
App Menu Items
Menu Items
You will see a list of features/menu items that can be configured for the App.
By default, the Scheduled Tasks feature isn’t automatically enabled and needs to be added as a Menu Item.
Click on the Add Menu Item link at the bottom of the Menu Items page:

Click the Item Type drop-down and select Scheduled Tasks

Add a label for Scheduled Tasks (users will see this label when using the App.

App Assigning Tasks/Groups/Instances
Click anywhere within the Scheduled Tasks Panel.

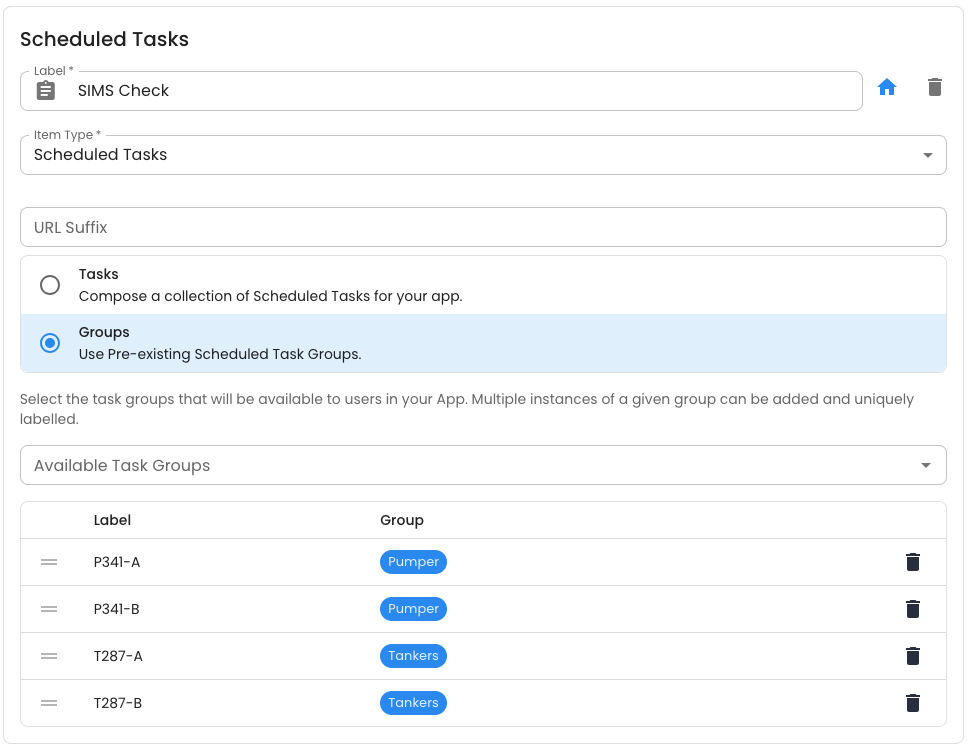
On the right-hand side of the screen, you can see the Scheduled Tasks configuration panel.
You can select to either add individual tasks to an App or add one or more previously configured Group Instances.
You can only select Instances that have not already been allocated to an App (Instances that have already been allocated will not appear in the list). Instances that have already been allocated to this App will display, but cannot be selected.
Once you have finished allocating Instances to the App, click Save to save your changes.
When a user opens the App, they will see the list of configured instances in the same order that they have been configured.

Getting Help
If you need any assistance with Scheduled Tasks, please reach out through the Report Issue menu or email support@oneblink.io.
Was this article helpful?
That’s Great!
Thank you for your feedback
Sorry! We couldn't be helpful
Thank you for your feedback
Feedback sent
We appreciate your effort and will try to fix the article