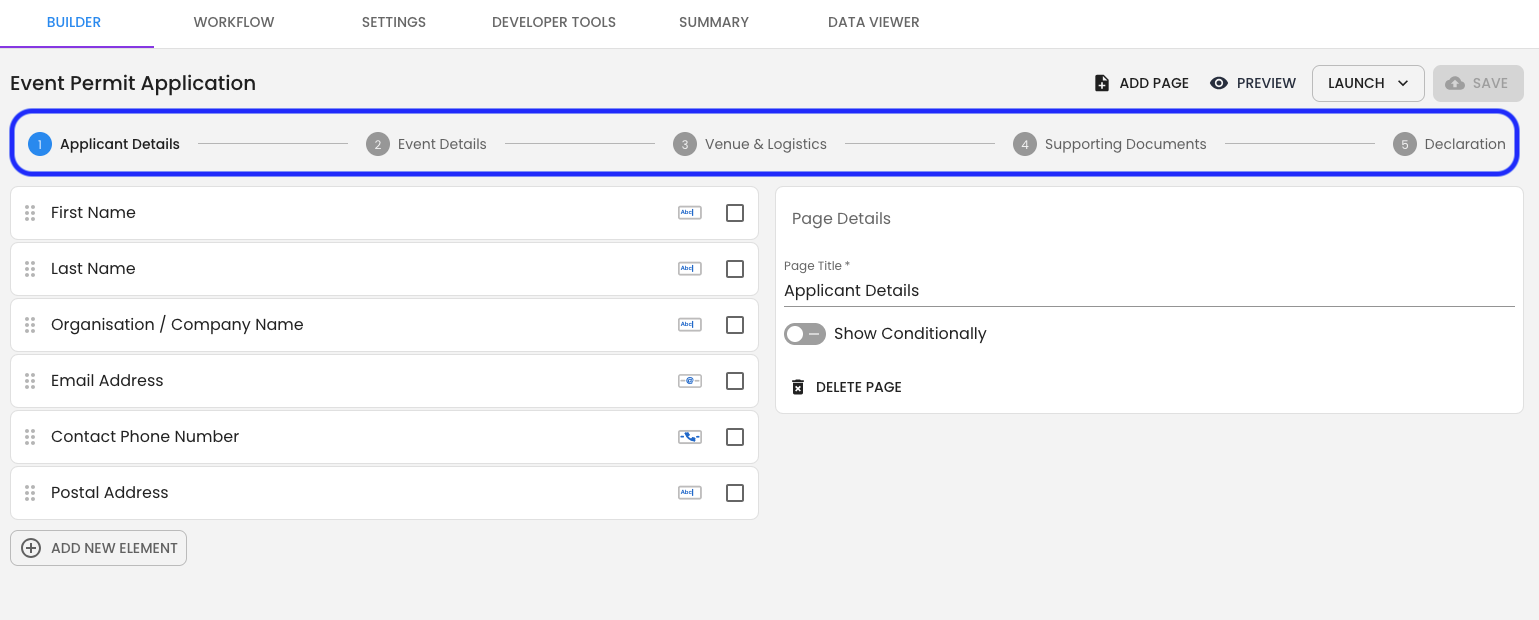
Form pages allow you to break longer forms into smaller, logical sections. This helps make forms easier for users to complete and allows them to track their progress through the form.
For example, a user may see that they are on page 4 of a 6 page form.
TABLE OF CONTENTS
Using Form Pages
Pages can be used to organise your form into clear steps or sections. This is useful when a form contains a large number of questions, or when different parts of the form relate to different stages of a process.
Adding Pages
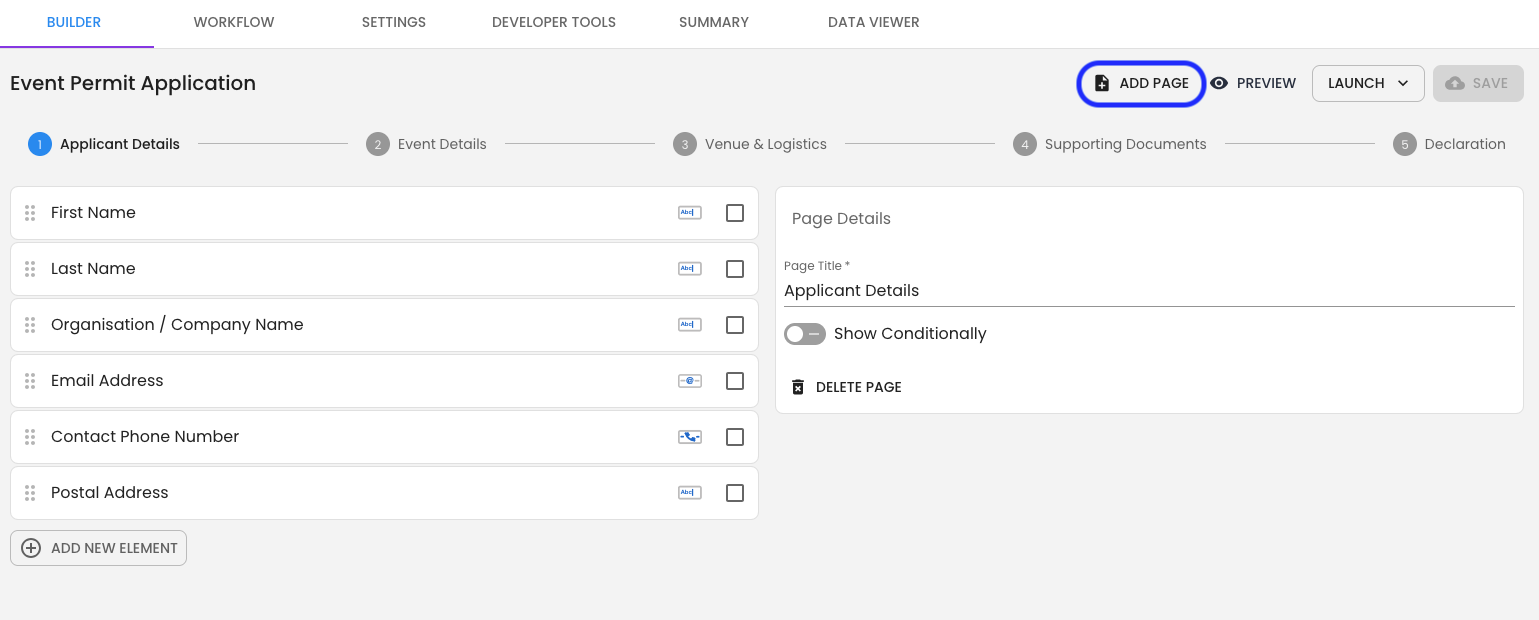
To add a page in the Form Builder:
Step 1: Open the form in the Builder.
Step 2: Click the ADD PAGE button.
Step 3: Add the required elements to the new page.
Deleting Pages
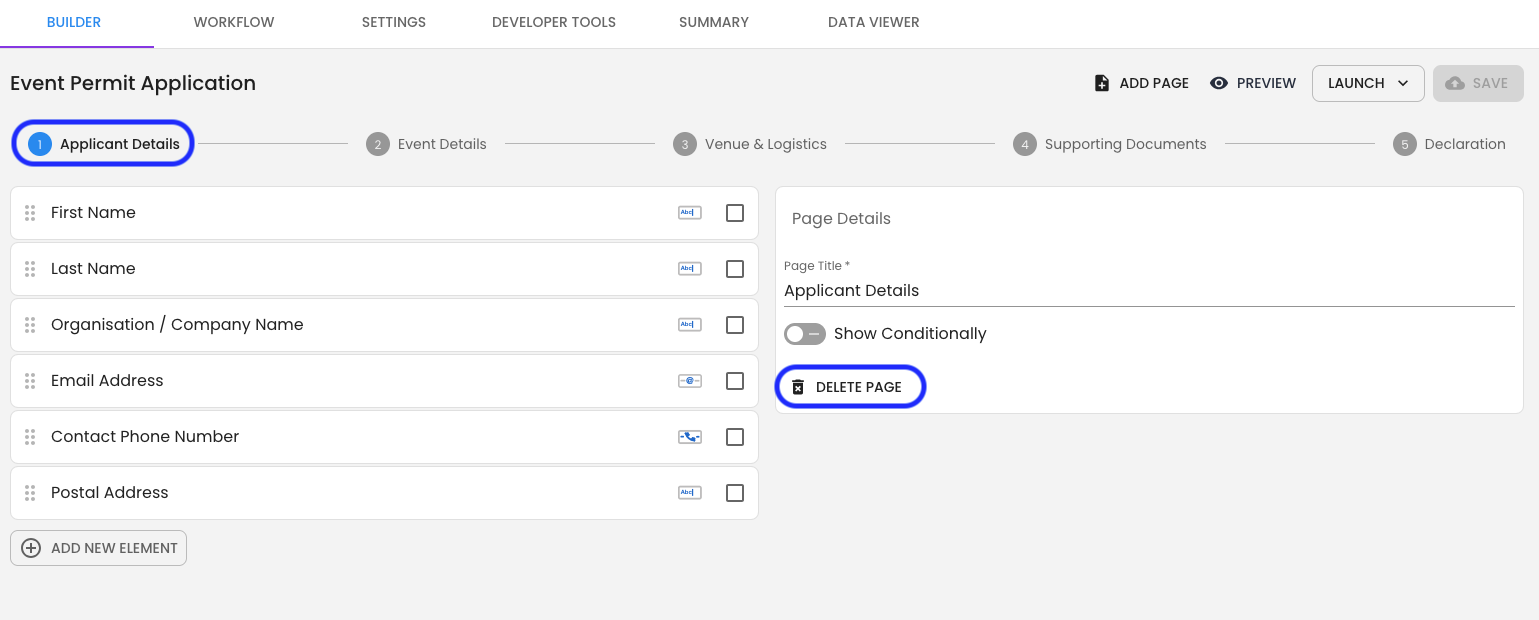
To delete a page in the Builder:
Step 1: Select the page you want to delete.
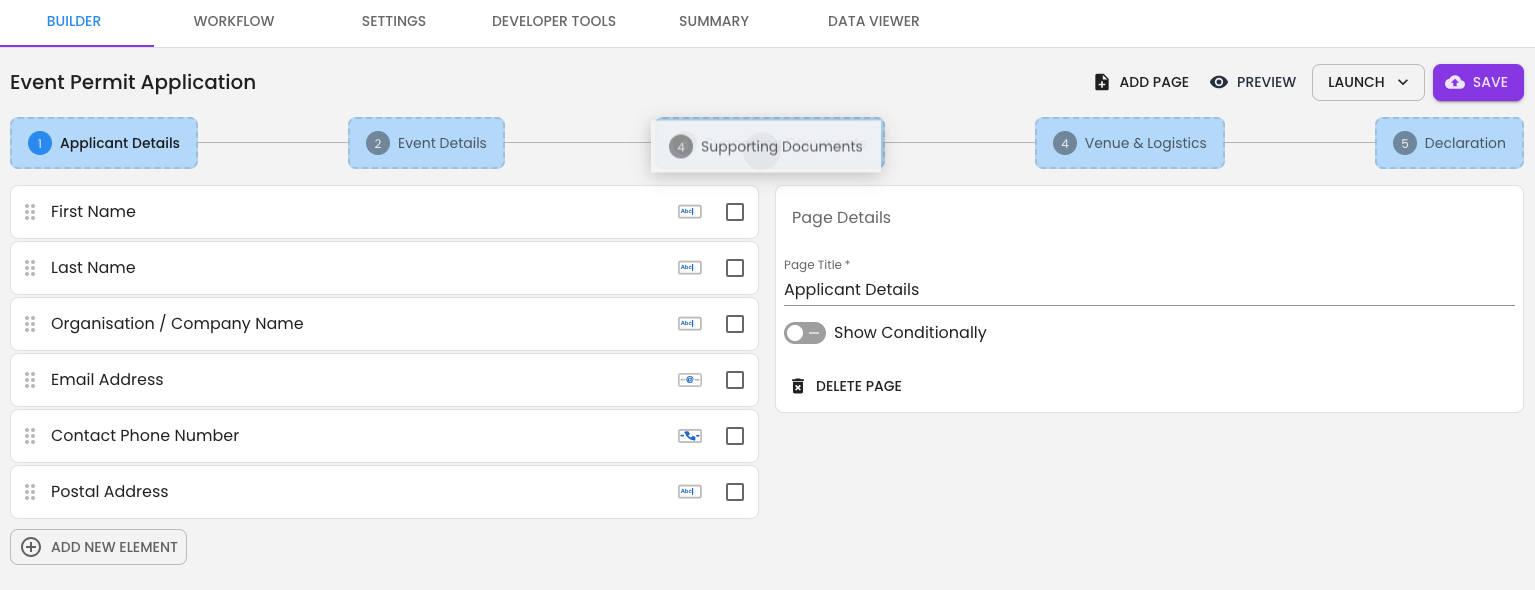
Step 2: Click the Delete Page button.
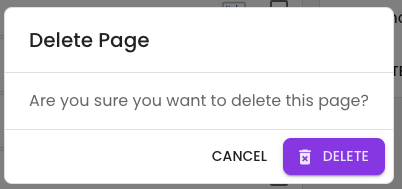
Step 3: Confirm the deletion in the pop-up window.
Reordering Pages
To reorder pages in the Builder:
Step 1: Click and hold the page label.
Step 2: Drag the page to the required position.
Step 3: Release the page to update the order.
How Pages Display to Users
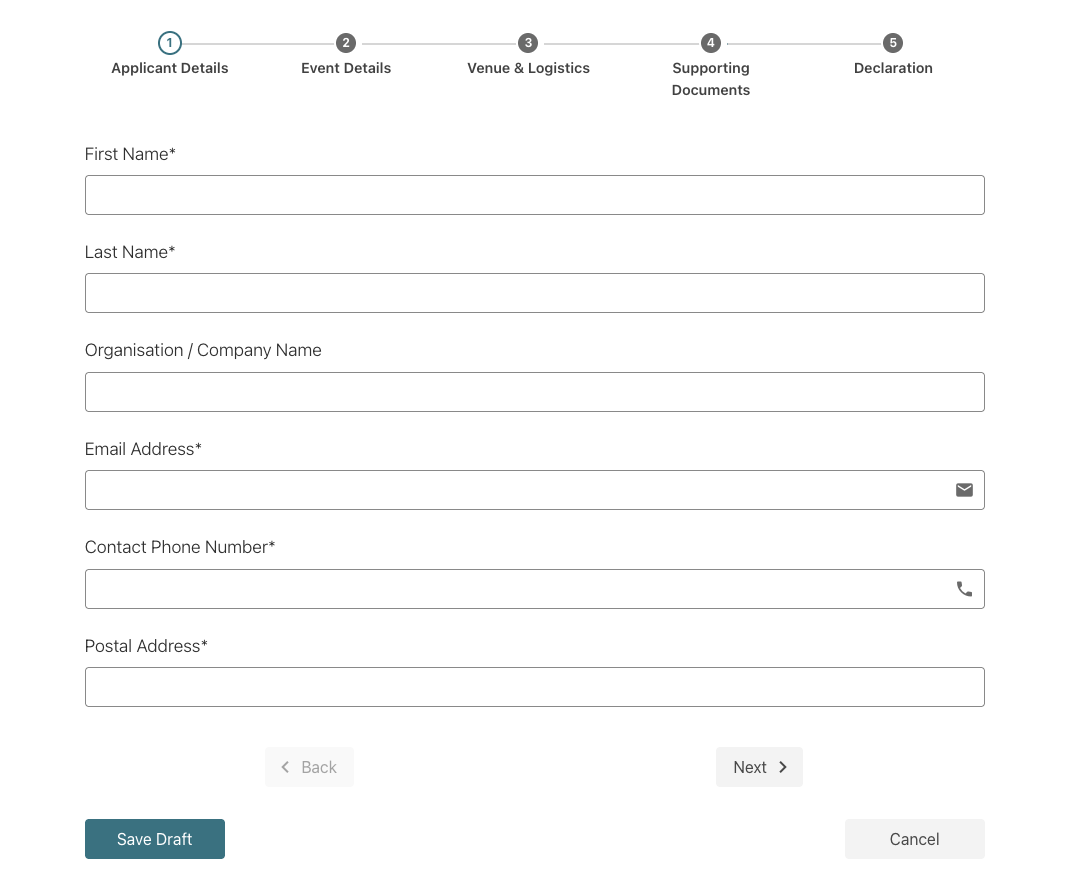
On desktop, pages are displayed at the top of the screen. The page number and page title are shown so users can see where they are in the form.
The page navigation also indicates which page the user is currently on and whether a page contains an error.
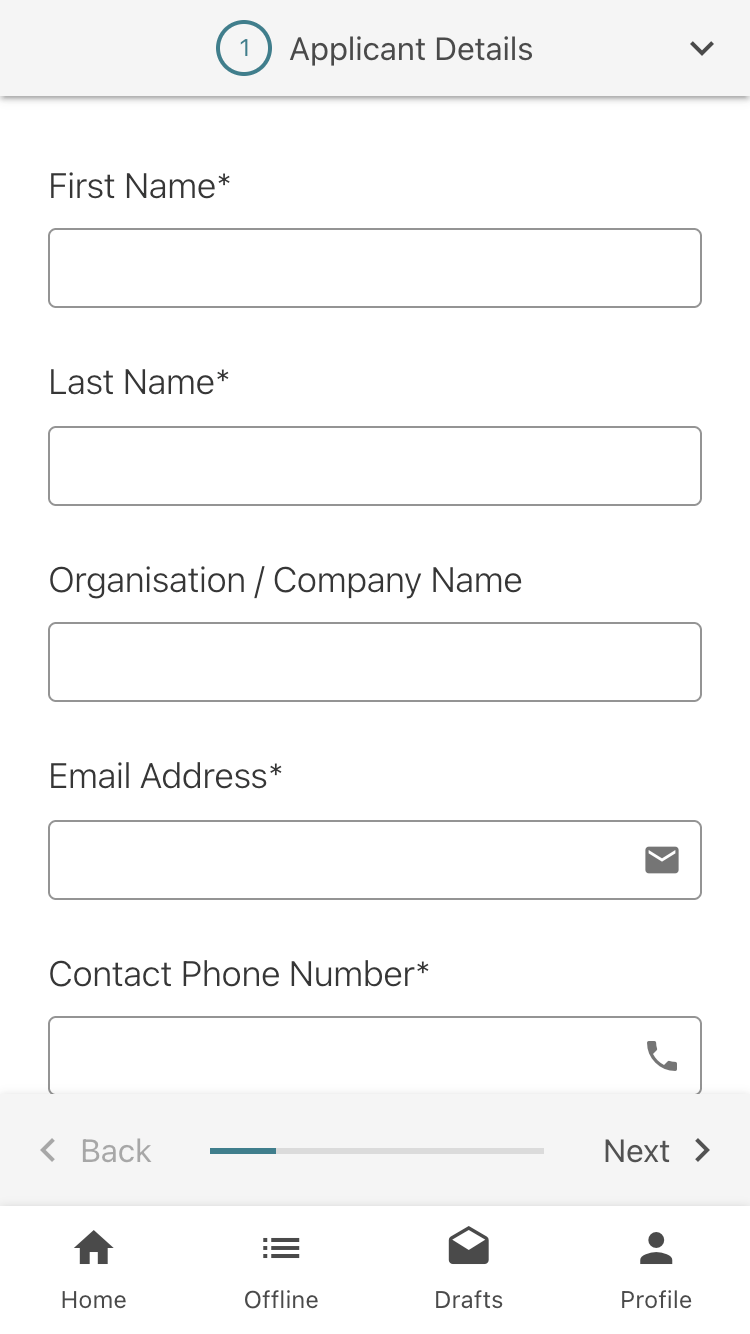
On mobile and tablet devices, pages are represented by a drop-down at the top of the screen and by small dots in the bottom navigation of the form.
The Cancel and Save as Draft buttons appear at the bottom of each page. The Submit button only appears on the last page of the form.
Getting Help
If you need assistance with form pages, please reach out through the support portal or email support@oneblink.io.
Was this article helpful?
That’s Great!
Thank you for your feedback
Sorry! We couldn't be helpful
Thank you for your feedback
Feedback sent
We appreciate your effort and will try to fix the article