Environments allow you to create designated spaces within your account to separate testing and production (or live) content. Using environments in this way ensures that you are not making changes to live forms and have processes in place to review any changes before making the changes live.
TABLE OF CONTENTS
- Environments and Workspaces
- How to use Environments
- Creating an Environment
- Environment Configuration
- Cloning an Environment
- Changing Environments
- Ordering Environments
- Migrating Forms
Environments and Workspaces
Your account can be broken down into Workspaces, allowing you to better organise your account for different departments or projects you might be taking on. Environments exist inside of workspaces and are intended to be used to separate out your testing and production environments. For more on workspaces, check out this article.
How to use Environments
Environments contain the Home, Apps, Forms, Submissions, Data Manager, Approvals and Scheduled Tasks menus.
The Advanced Tools, Developer Tools and Help & Support menus operate outside of environments.
As you move between environments, you will see your Apps, Forms and submissions all change depending on which environment you are currently using.
Team Members can be restricted to specific Environments. For more on that, check out this article.

Creating an Environment
By default, your account has one environment. To create another environment, follow the steps below:
Step 1: Open the Advanced Tools menu and click on the Environments menu
Step 2: Click the plus (+) button
Step 3: Enter the environment details
- Name: The name of the environment as it will be shown in the platform.
- Description: An informative description of your environment.
- App's URL Suffix: This is the suffix that will be used for all of the apps in this environment for example "test"
- Notification Email Address: This is the email address that will be notified if there are any issues in the environment.

Environment Configuration
Environments have several configurations that are duplicated at the app level. These configurations, being at the environment level, allow for the forms to be configured and styled without the need for an app. Please note that the app configuration will overwrite or append to any of the corresponding environment configurations.
Settings
Standard Settings
Give your app a description to help others understand the purpose of your app.
Notifications
If an issue occurs with a submission on this environment, the notification email address will be notified of the issue. The email address is prepopulated with the Team Member who created the environment, but any email address can be added as a Notification email address. The Notification email address is required and will need to have at least 1 email address to save the app.
The environment notification email addresses can be replaced or appended to in the app settings tab.
Email Sending
The email sending address allows you to change the sending email address for any out-of-the-box emails that are sent using your app in the environment. For example, an email workflow event can be sent from your email (support@company.com) instead of the default OneBlink email address (forms-noreply@oneblink.io).
When configuring an email address, a verification email will be sent to the configured email address. You will need to access the email inbox, open the verification email and click the link. These links last 24 hours; if the link has expired, you can resend the verification email. Once the link has been clicked, thereby verifying the email address, any new emails sent from the app will be sent using your new sending email address.
The email sending address is used for all apps in the environment. This email can be overwritten by configuring a different email sending address in your app.

Appearance
The appearance tab allows you to customise the appearance of the apps and forms within the environment. These appearance options are automatically inherited by all forms and apps. If you would like your app to have different appearance configurations, you can overwrite all of these configurations by updating the configurations on the Builder screen of an App.
App Banner Image
Allows you to add a custom banner to all of the apps in your environment.
Colour Theme
Allows you to customise the colour palette to match your business colour scheme.
Favicon
Update the Favicon used for your apps and forms. The favicon is a 32 x 32 pixel icon displayed in the browser's tab, address bar, and bookmarks.
Validation Error Icon
Add an icon and an accessible label to your validation error messages.

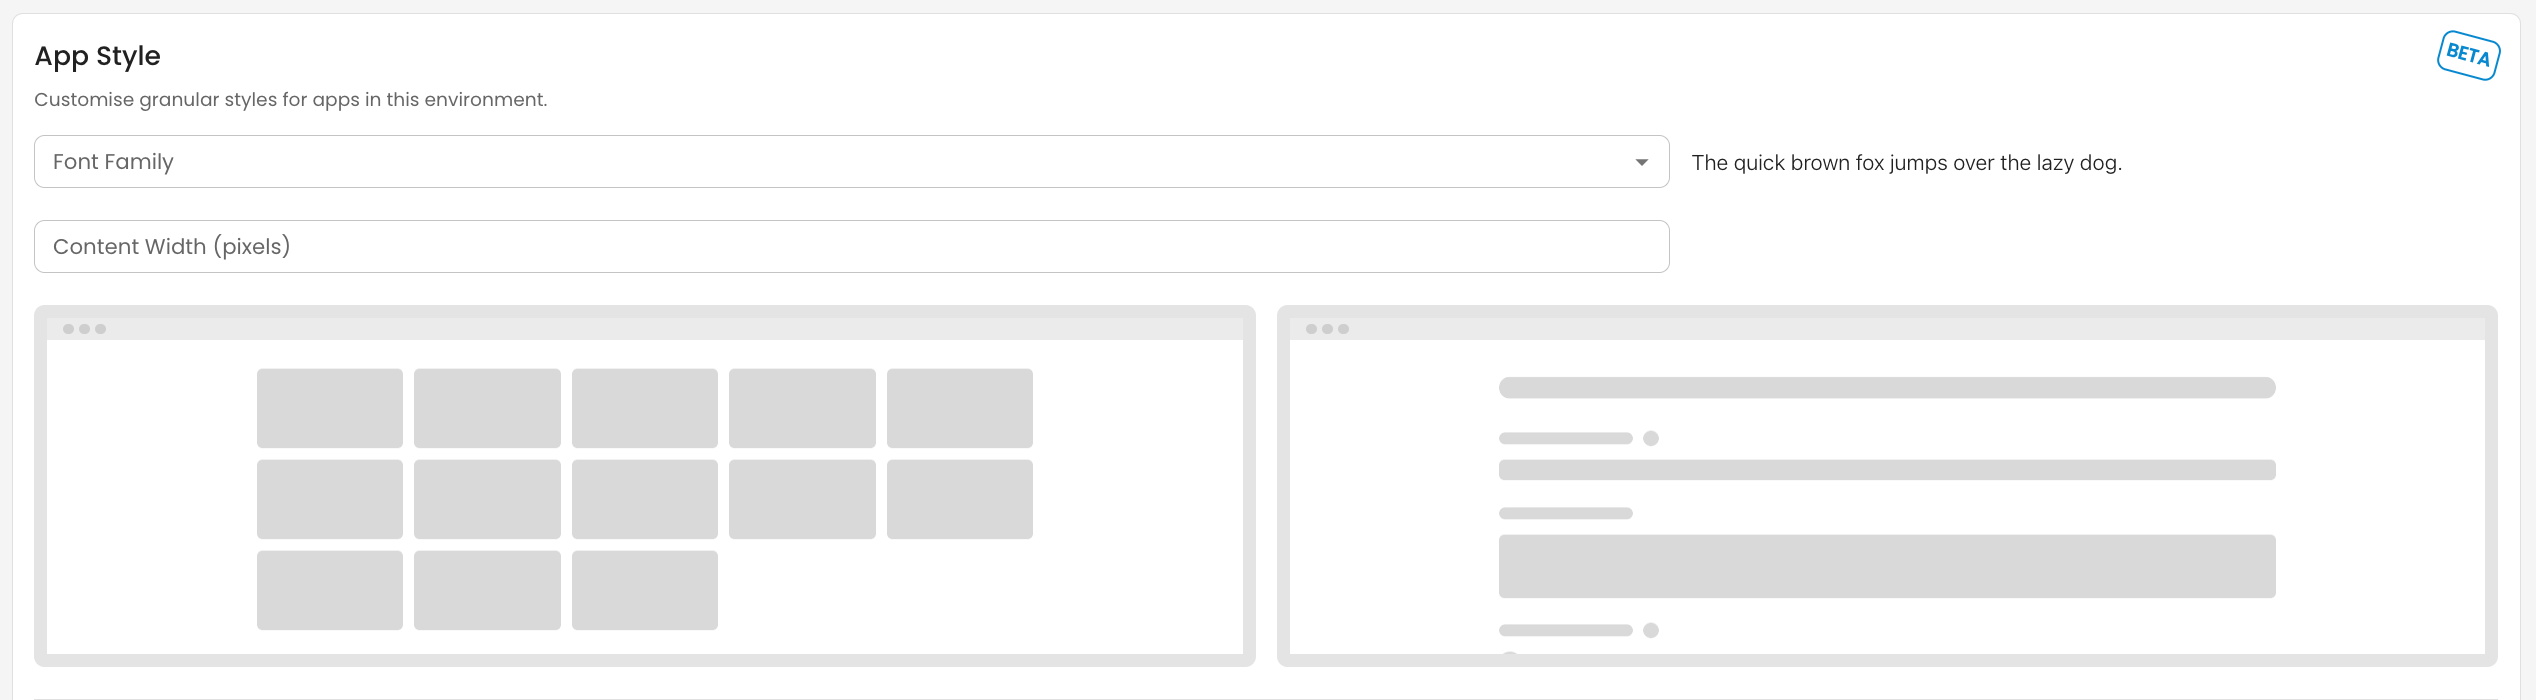
App Style
Additional configurations that allow for changes to fonts, content dimensions and colours that apply to all forms in an environment, including forms associated with an app.
Font Family: This will change the font for all text in all apps in the environment.
Content Width: This will change the maximum width of the forms.
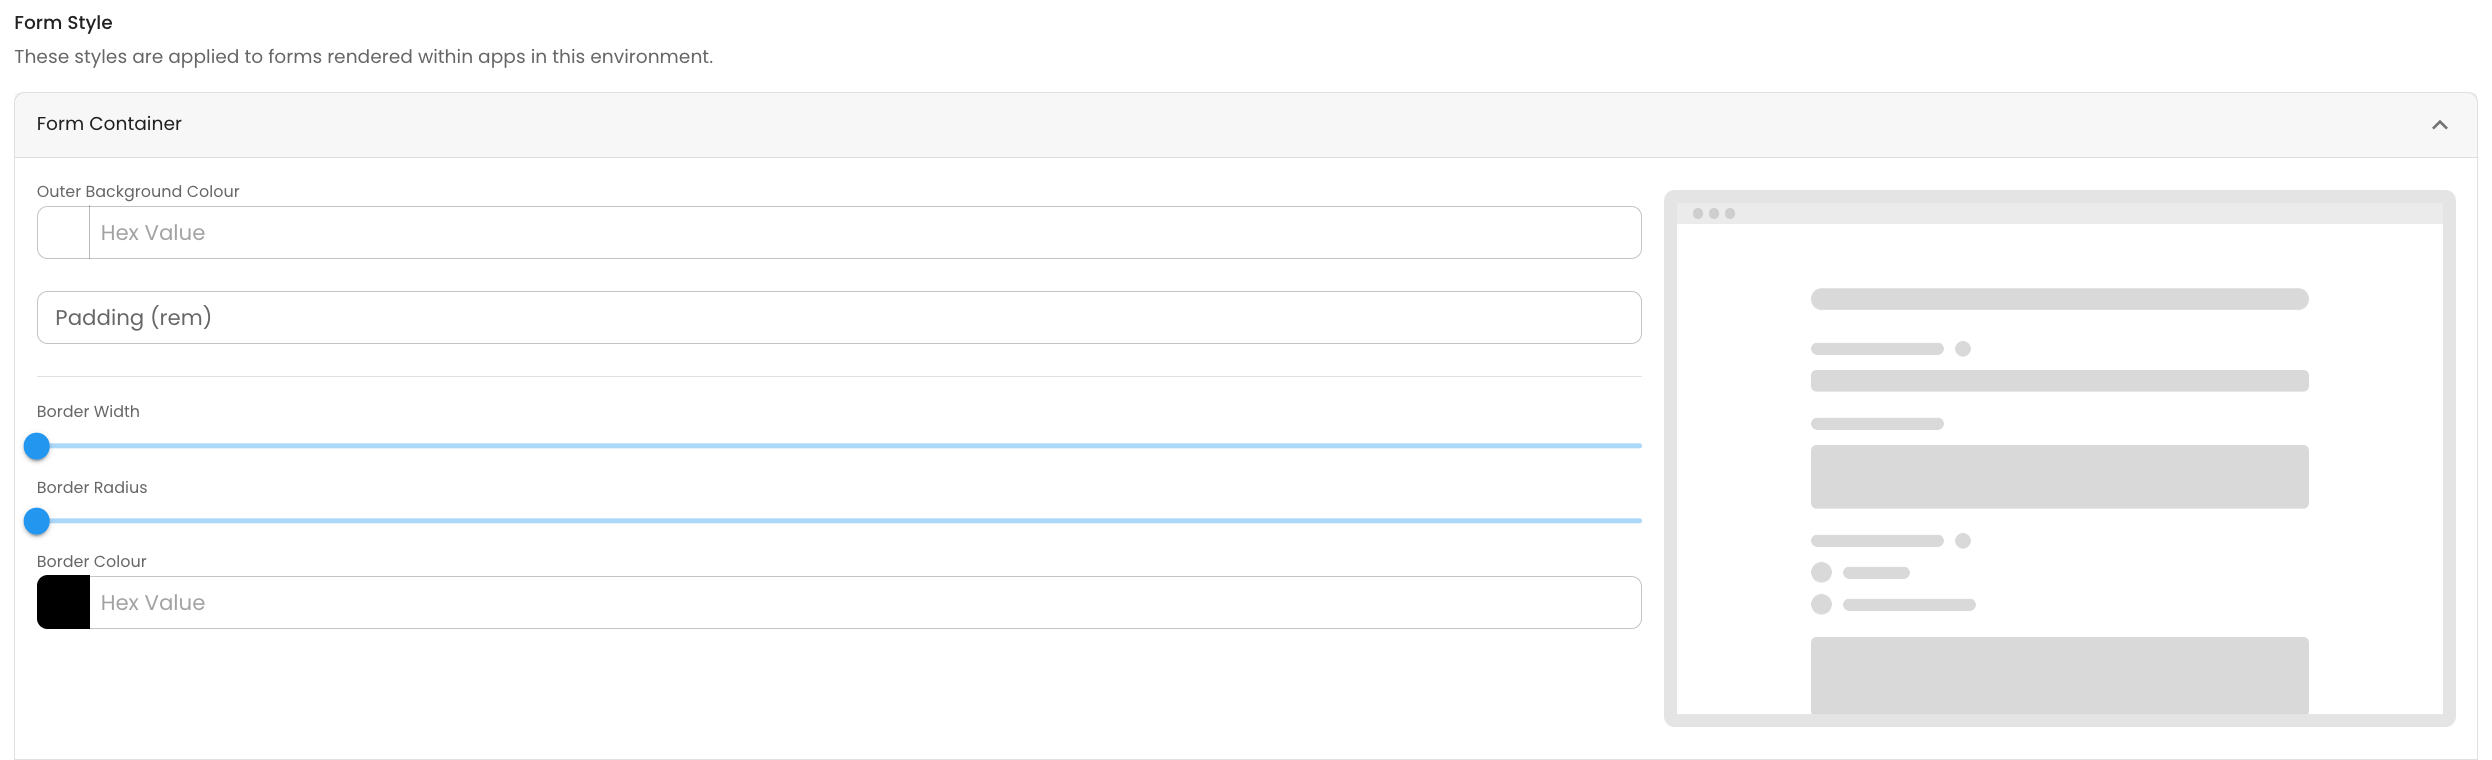
Form Style
Form Container
Outer Background Colour: Changes the background colour of the form.
Padding: Changes the width of the content.
Border Width: Creates a border around the form content, this is to help differentiate between the background and the form itself.
Border Radius: Allows for rounding of the edges of the border.
Border Colour: Assigns a colour to the border.
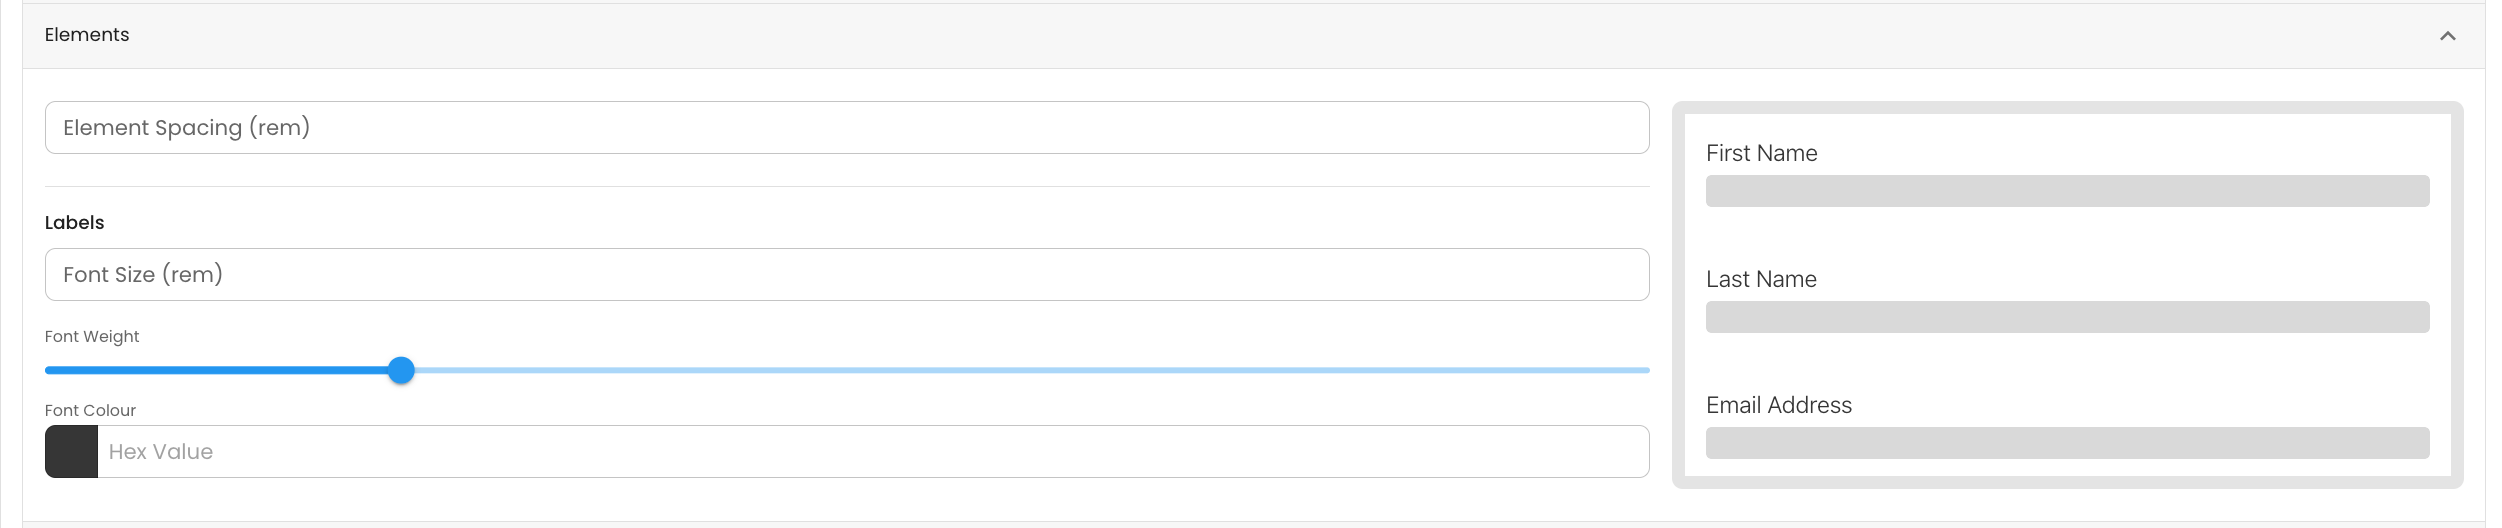
Elements
Element Spacing(rem): Adjusts the spacing above and beneath each element.
Font Size(rem): Adjusts the size of the text for every element.
Font Weight: Adjusts the weight of the text.
Font Colour: Adjusts the colour of the text.
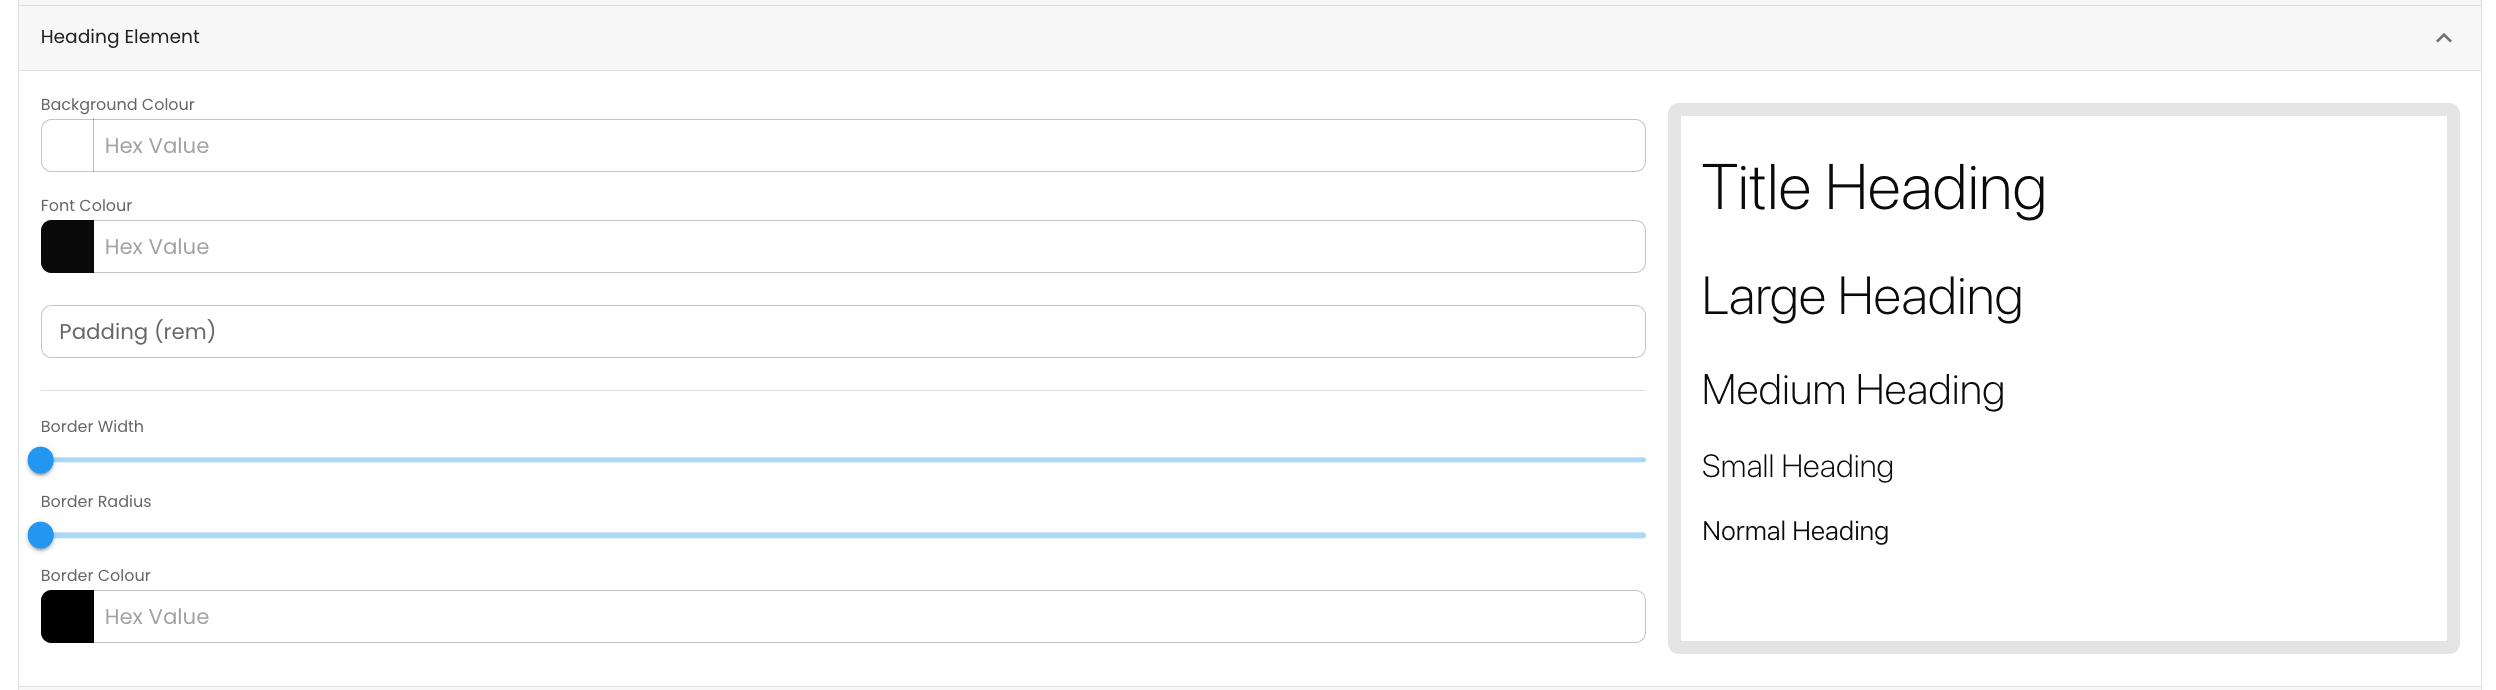
Heading Element
Background Colour: Adjusts the background colour behind the heading elements.
Font Colour: Adjusts the colour of the text.
Padding(rem): Adjusts the spacing around the heading elements.
Border Width: Creates a border around each heading element.
Border Radius: Adjusts the rounding of the edges for the border.
Border Colour: Adjusts the colour of the border.
Heading Size Configuration
For each Heading Size, the following can be configured:
Font Size: Adjusts the size of text for each Heading size.
Font Weight: Adjusts the colour of text for each Heading size.

Buttons
The button configuration gives you control over the various buttons, their colour and icons.
For more on how these settings will affect your forms and apps, check out this article.

Developer Tools
Advanced Styling
Advanced Styling is where you can style and customise your apps using custom CSS. For more on styling, check out this article.
ReCAPTCHA
Enabling this allows you to use your own reCAPTCHA key sourced from your own Google account. More information can be found here.
Google Maps Key
When using the new Google Address element you are required to enable the Google Address key within the app, you can do so by enabling the maps key in this section. More information can be found here.

Cloning an Environment
Step 1: Open the Advanced Tools menu and click on the Environments menu
Step 2: Click the Clone option in an existing environment
Step 3: Enter the Environment details
Step 4: Select the features you would like to be cloned into your new environment and click save
- Lists
- Lookups
- Form Submission Events
- Form Approval Steps
- Form Submission & Cancel Redirect URLs
- Form Validation
- Form Personalisation
- Form Receipt Generation
- Form Custom CSS Classes
- Form Display After Submission
- Form Submission Title
- Form Tags
- Scheduled Tasks
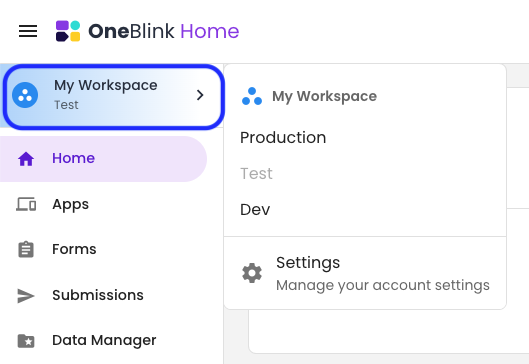
Changing Environments
After creating a second environment, a dropdown will appear in the side menu. This will tell you what environment you are currently in and will also let you move between environments.
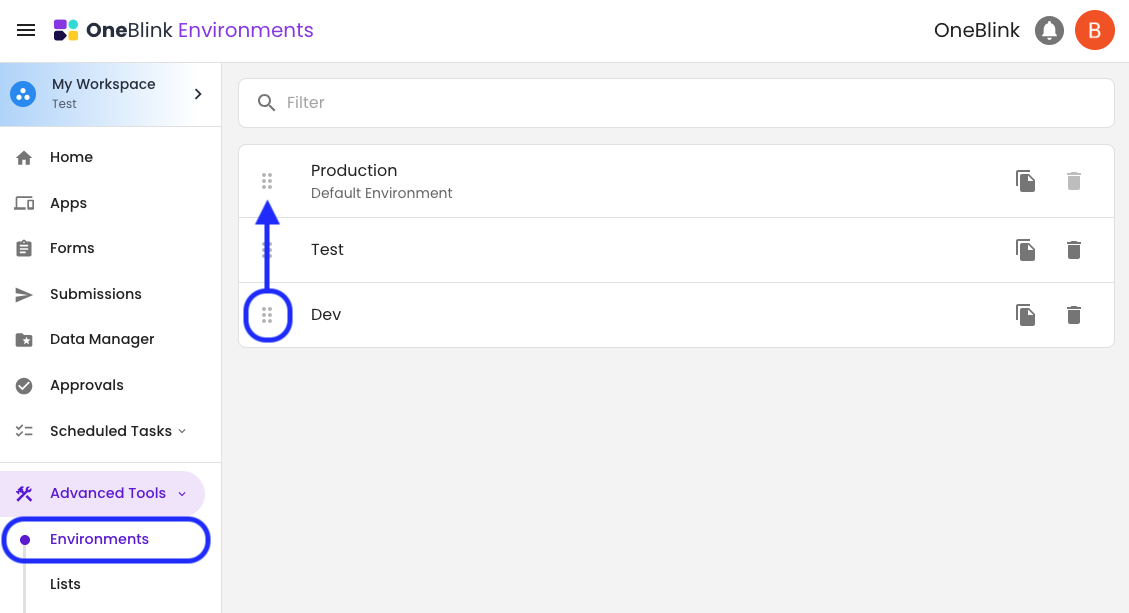
Ordering Environments
From the environments menu, select the drag handle on the left of the environment and move the environment up or down the list to achieve your desired order. Once the environment is moved, the environment list will automatically update. Please note that changes to this order will affect all platform users.
Migrating Forms
Step 1: Navigate to the Forms list
Step 2: Select the 3-dot menu on the form that you want to migrate and click "Migrate to Environment"
Step 3: Select the environment that you want the form to migrate to and choose a target form. If a form with the same name exists in the target environment, then that will automatically be added as the target form.
Step 4: Choose the Migration options; these are the items that will be migrated to the new environment.

Getting Help
If you need any assistance with Environments, please reach out through the Report Issue menu or email support@oneblink.io.
Was this article helpful?
That’s Great!
Thank you for your feedback
Sorry! We couldn't be helpful
Thank you for your feedback
Feedback sent
We appreciate your effort and will try to fix the article