Lookups allow you to store table-based content that can be used to populate form elements based on a selected value.
Lookups can also be used to query content outside of the platform. For more information, check out the Dynamic Lookups article.
TABLE OF CONTENTS
- Creating a Lookup
- Import
- Upload from CSV
- Download CSV
- Populate Number Elements
- Lookup Known Limitations
- Getting Help
Creating a Lookup
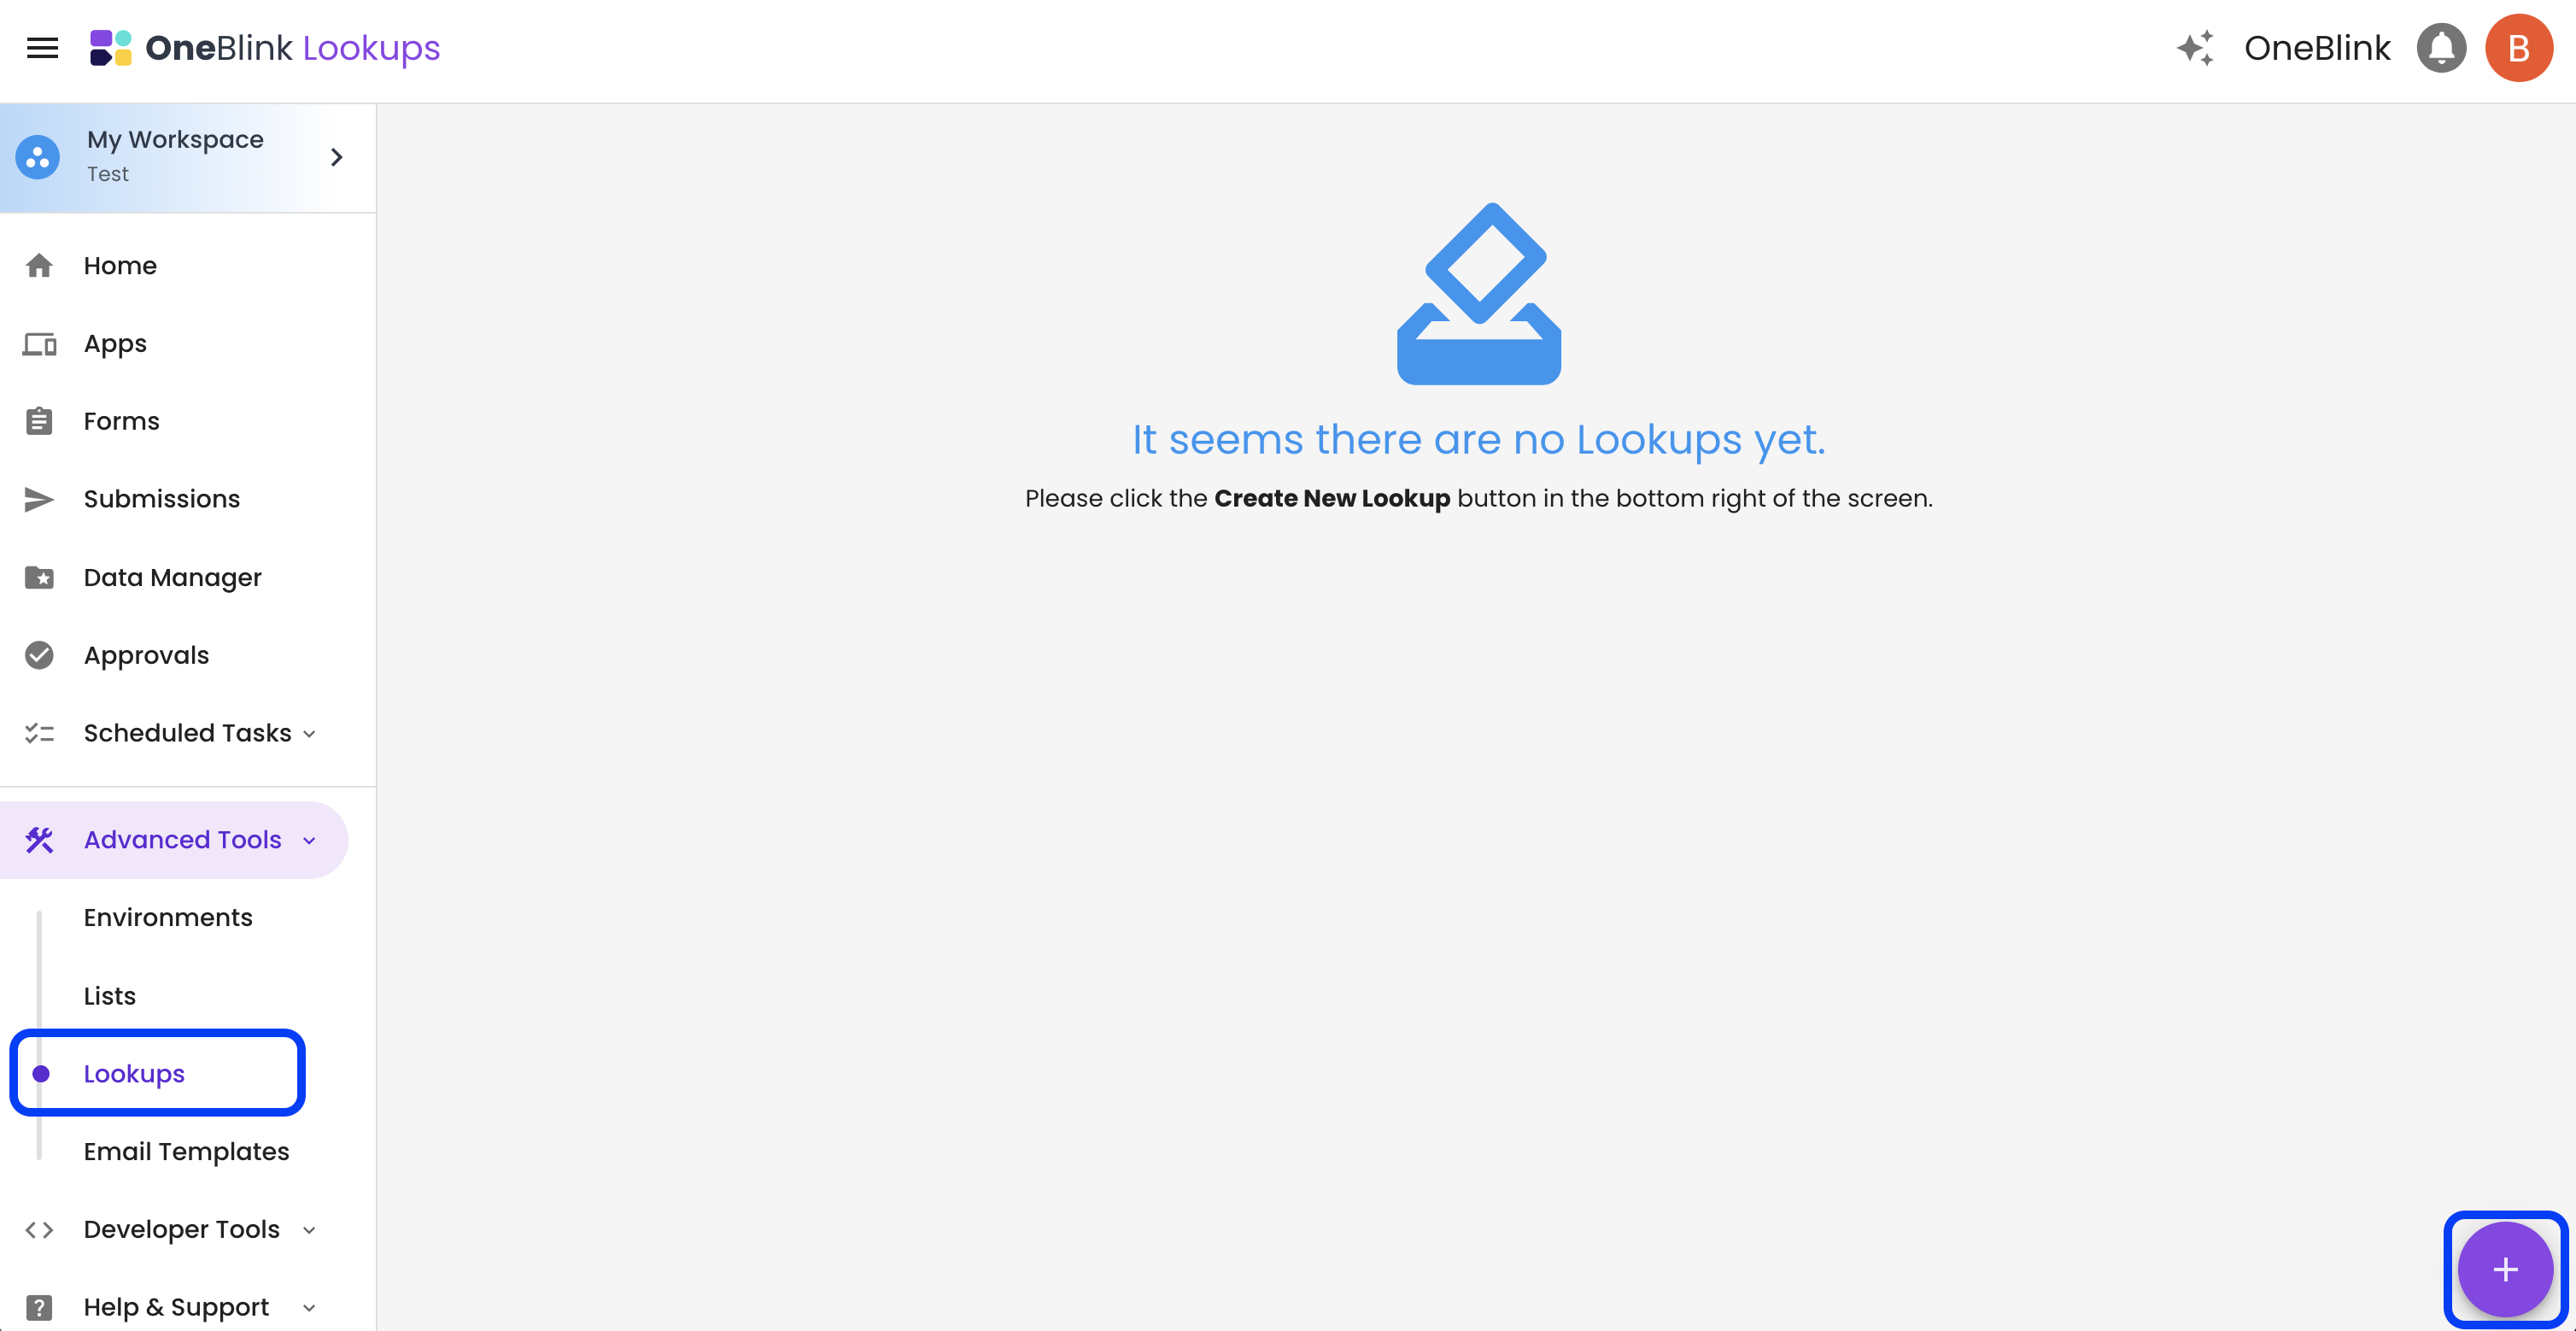
Lookups are created from the Lookups menu under Advanced Tools.
Step 1: Open the Advanced Tools menu and click the Lookups menu.
Step 2: Click the plus (+) button in the bottom-right corner of the screen.
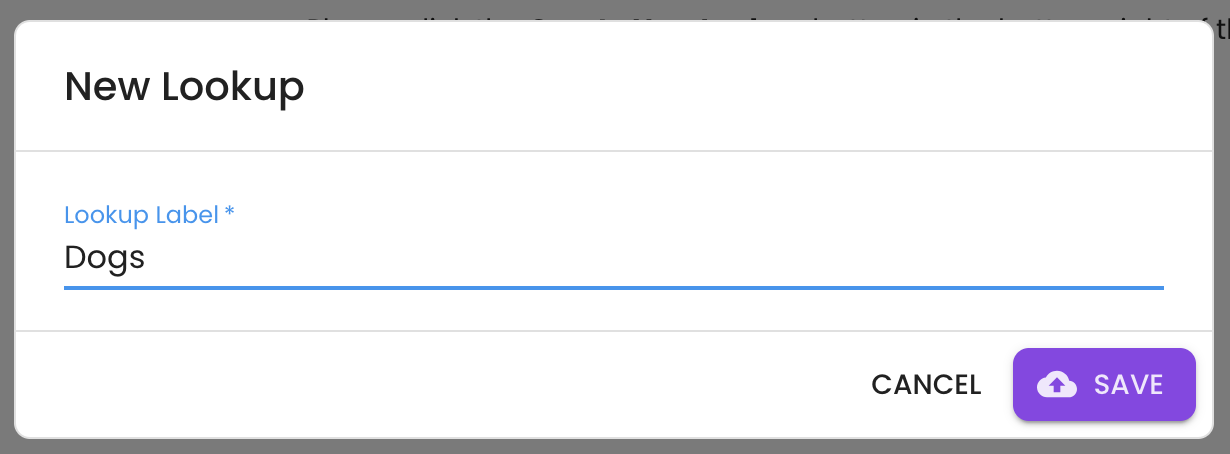
Step 3: Enter a name for the lookup and click Save.
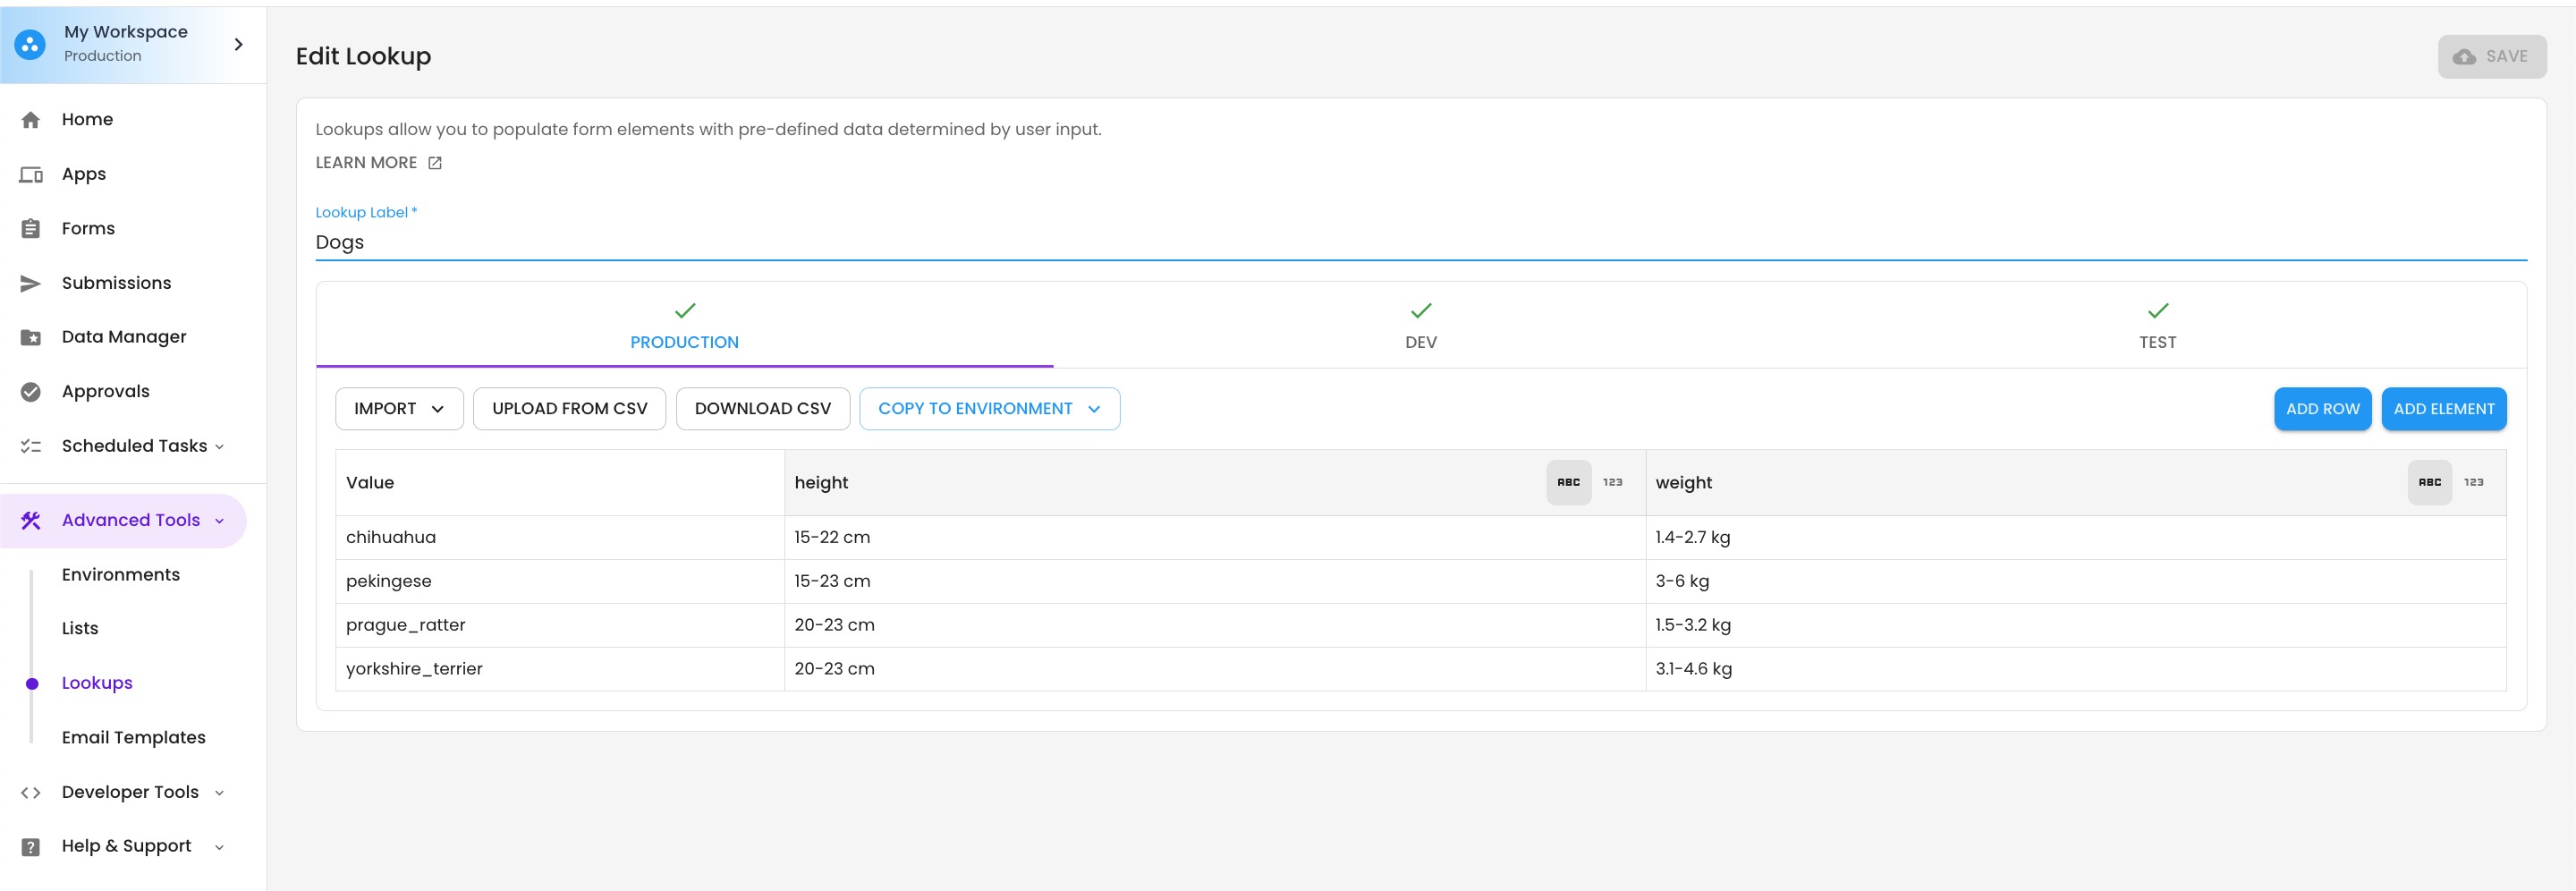
Step 4: Add the rows and columns for your lookup table.
Rows contain the values that users will look up from the form. Columns represent the form elements that will be populated when a matching row is selected.
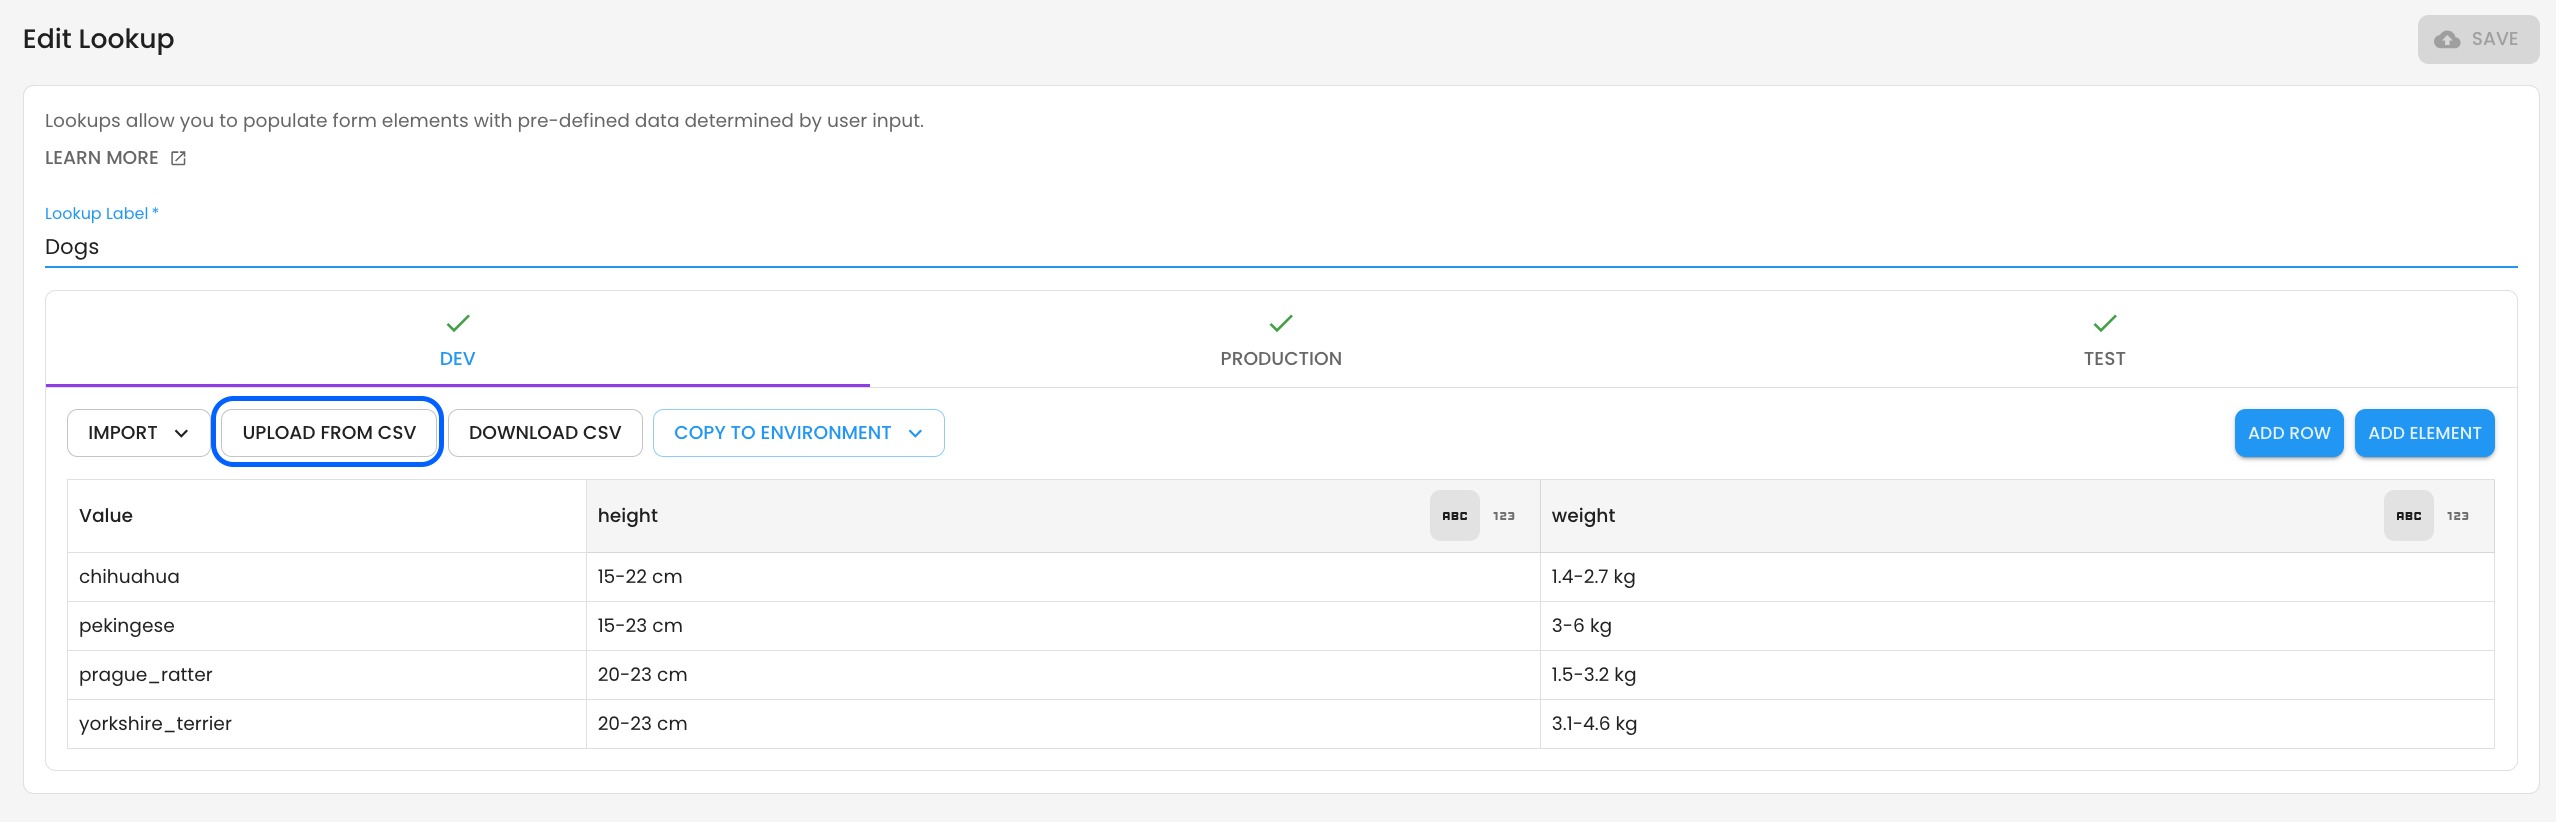
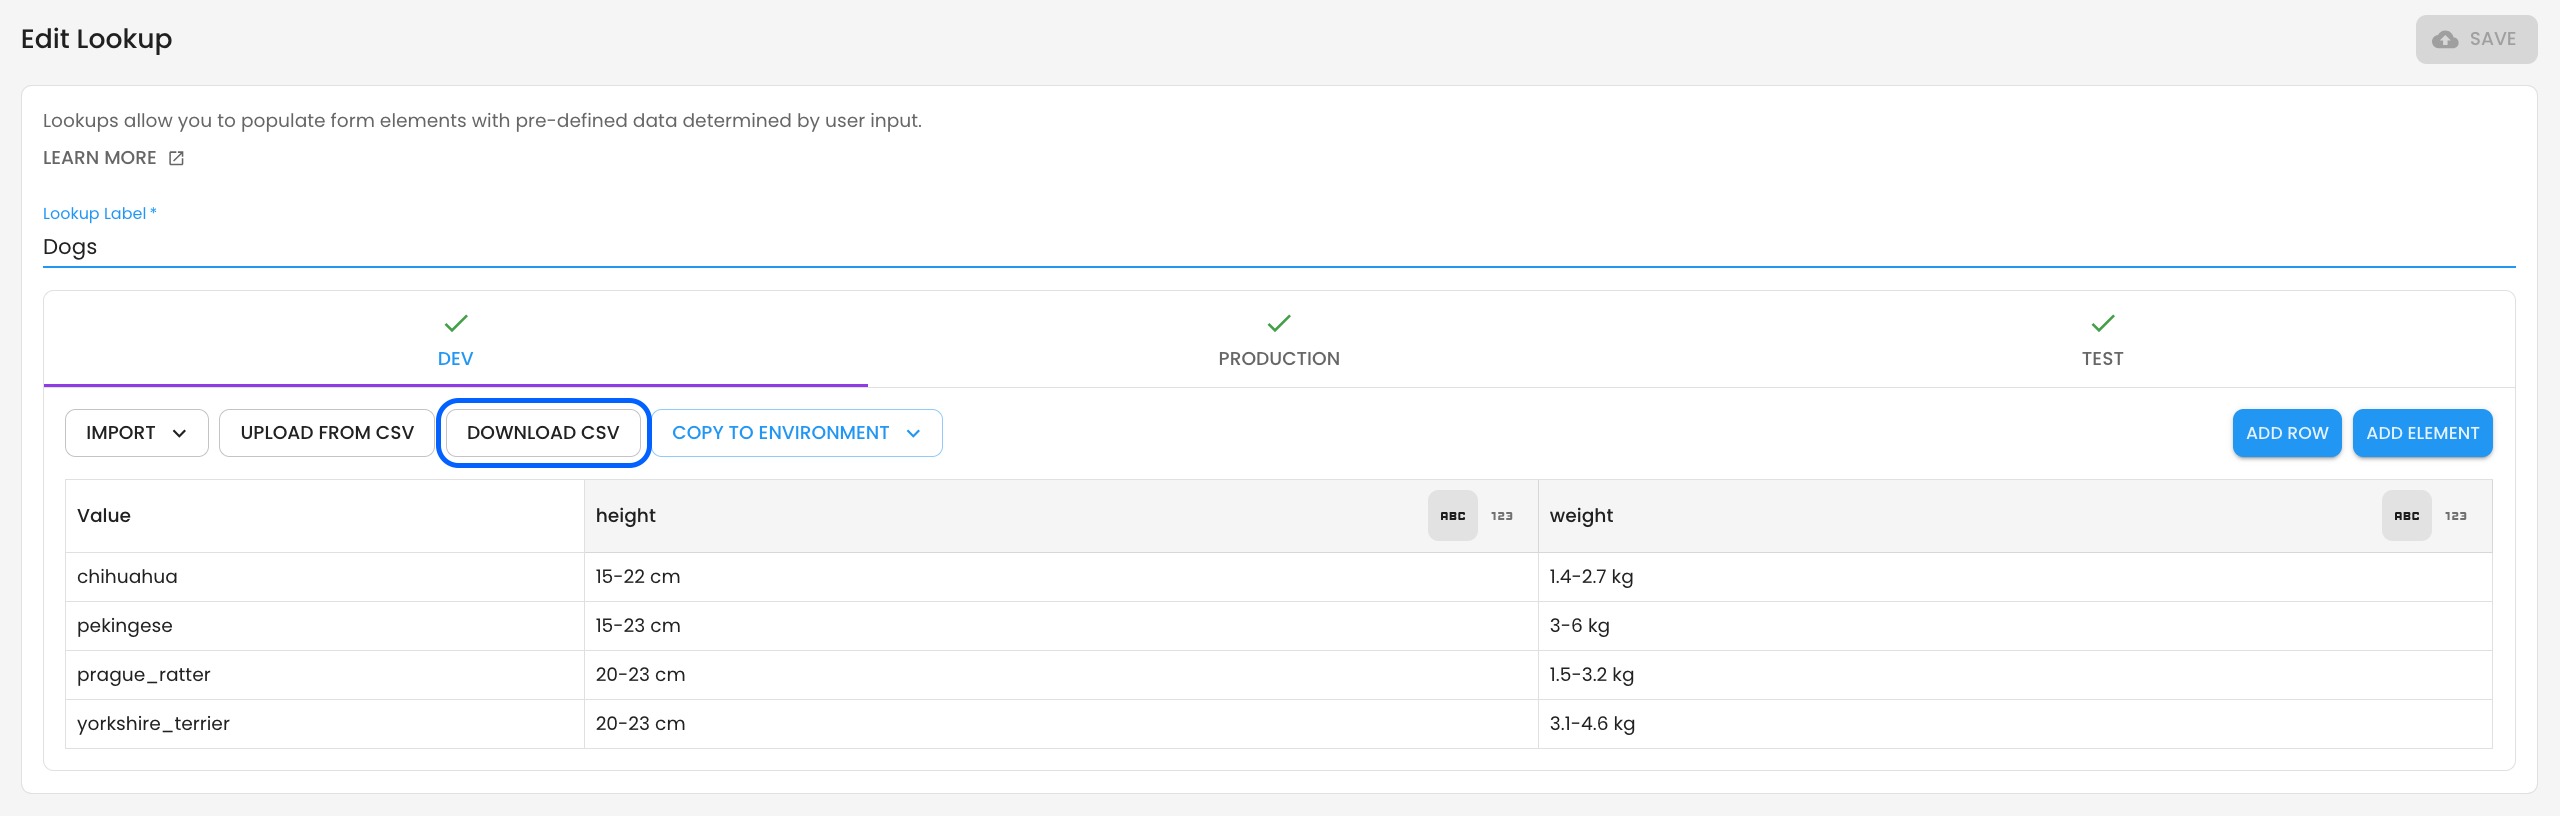
In the example below, the lookup table contains dog breed information. The row values are the dog breeds, and the height and weight columns match the form elements that will be populated.
For example, when chihuahua is selected, the height field is populated with 15-22 cm, and the weight field is populated with 1.4-2.7 kg.
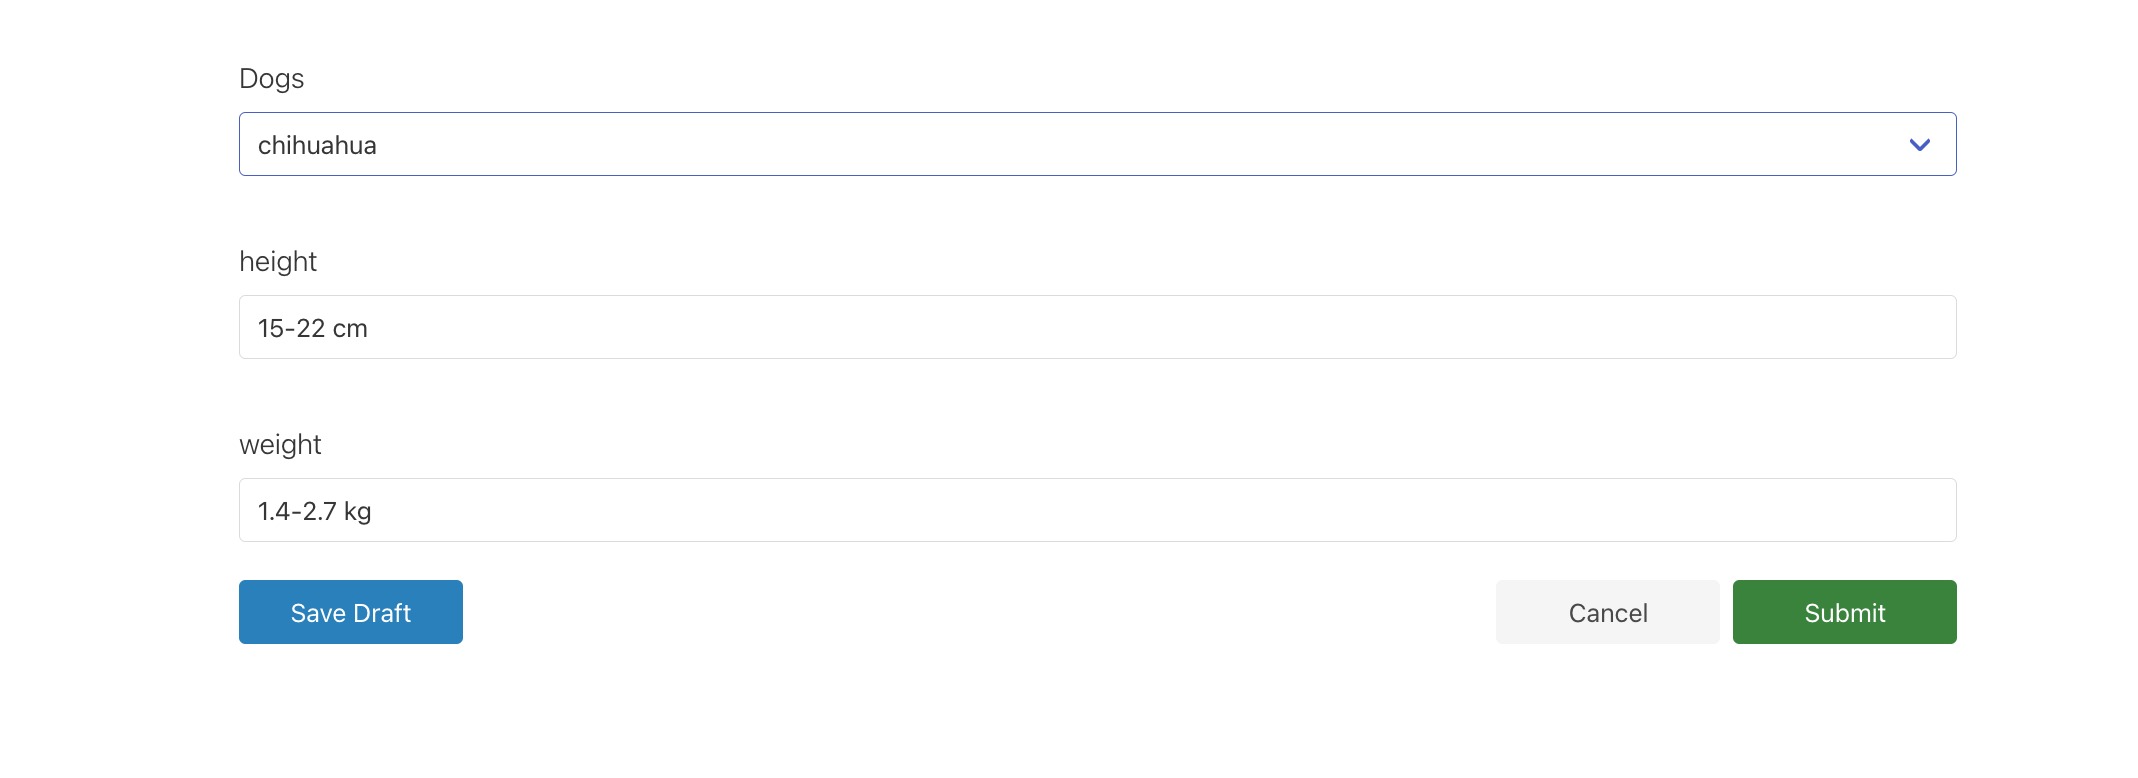
Step 5: Configure the form element that will trigger the lookup.
In this example, the lookup element is the Dogs select element. Because the lookup is using a select element, the list values, such as chihuahua and pekingese, must match the values in the lookup table.

Step 6: Create the form elements that will be populated by the lookup.
The element names must match the column names in the lookup table. In this example, the element names are height and weight.
Step 7: Select the lookup element in the form builder.
Step 8: In the Advanced section of the element details, turn on Enable Data Lookup and select the lookup.

Step 9: Preview the form or open the form URL.
Step 10: Select an option in the lookup element to run the lookup and populate the matching form elements.
Import
The lookup builder includes import actions to help create lookup rows and columns from existing forms and lists.
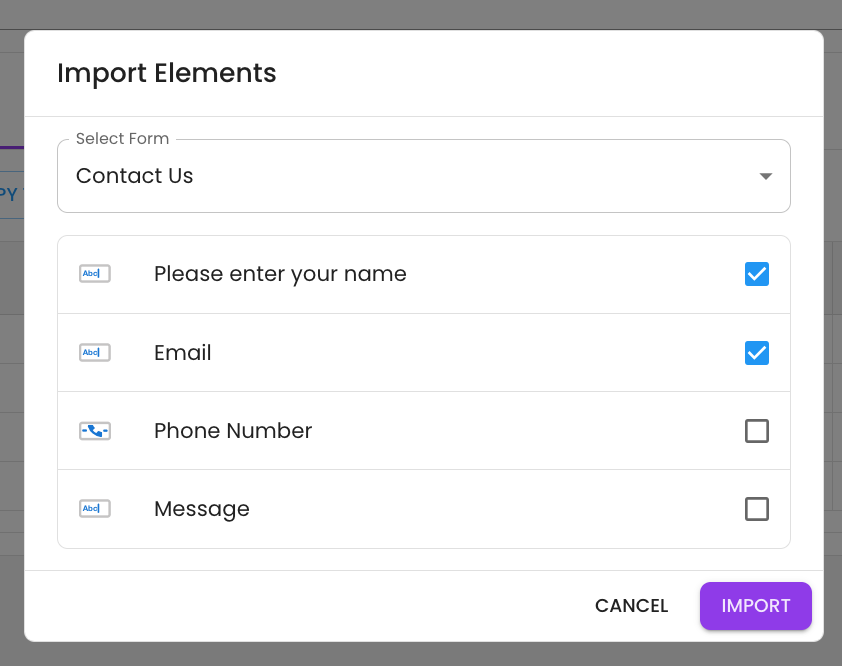
Import from Elements
Import from Elements allows you to automatically generate columns in your lookup table from an existing form in your environment.
After selecting a form, you can choose the elements you want to import. This helps streamline lookup table creation and reduces the chance of naming issues between lookup columns and form elements.
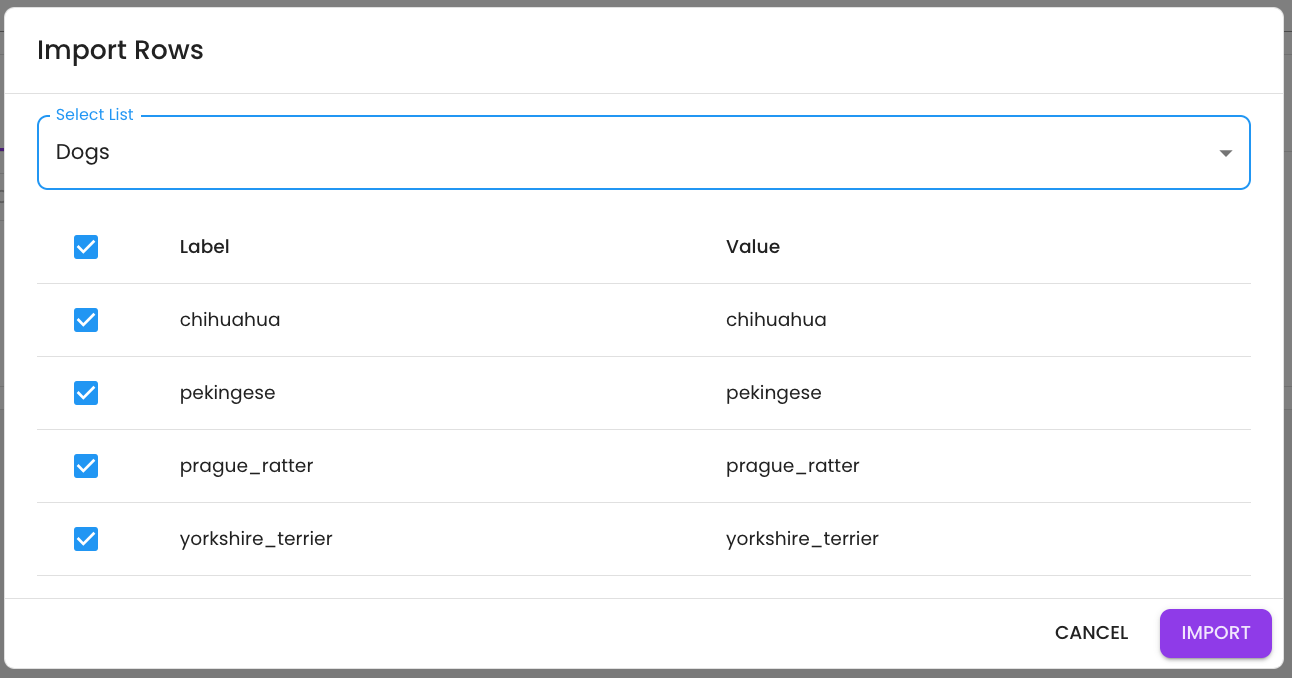
Import Rows from List
Import Rows from List allows you to automatically generate rows in your lookup table from an existing list in your environment.
After selecting a list, you can choose which list items you want to add to the lookup.
Upload from CSV
You can upload an existing CSV to create or update a lookup table instead of manually adding rows, columns, and cell values.
Click the Upload from CSV action, then select the CSV file you want to upload.
The CSV must use the correct format. Refer to the attached Dogs_Demo.csv example from the original article for the required structure.
Download CSV
You can download a lookup table as a CSV by clicking Download CSV.
This allows you to edit the lookup in your preferred spreadsheet editor and then upload the updated CSV back into the platform.
Populate Number Elements
Lookup columns can be configured as either Text or Numeric content.
Text columns can populate the following element types:
- Text
- Multi-line Text
- Phone Number
- Barcode Scanner
- Radio Button
- Select
- Autocomplete
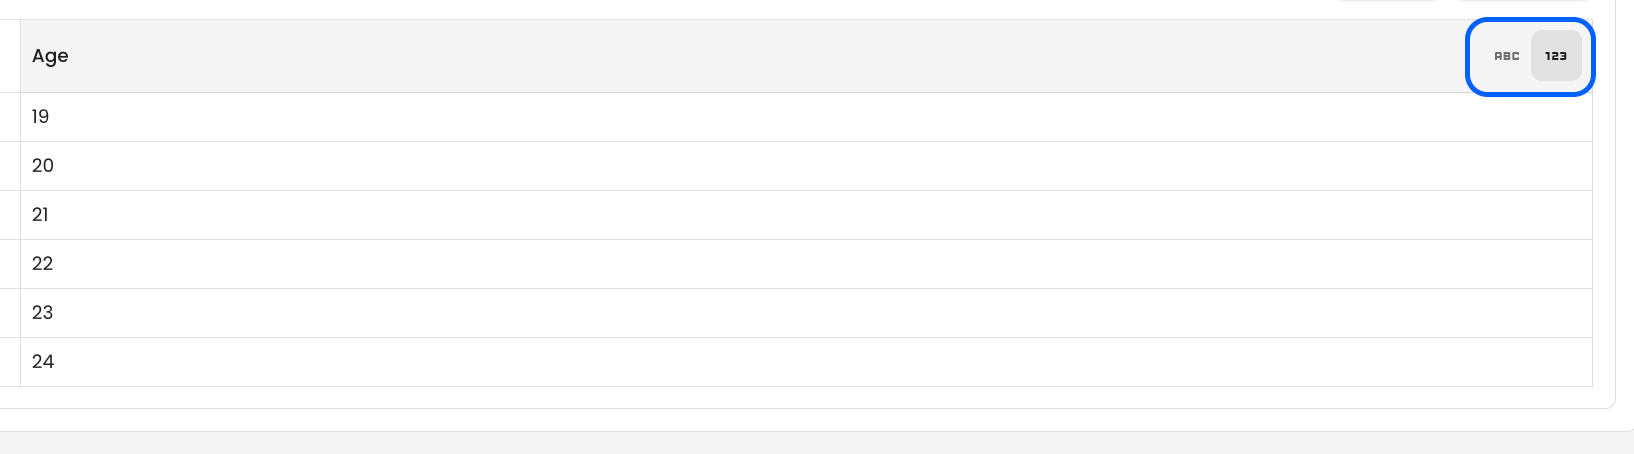
Numeric columns can populate Number elements. This setting is configured on the right side of the column name.
Using Numeric columns allows lookup values to be used in calculations, payments, and more advanced conditional logic.
Important: When changing a column from Text to Numeric, any cells in that column that do not contain numbers will be removed.
Lookup Known Limitations
Lookups currently support text-based and numeric lookup values.
The following element types can be used as lookup values:
- Text
- Multi-line Text
- Phone Number
- Barcode Scanner
- Radio Button
- Select
- Autocomplete
- Number
Getting Help
If you need any assistance with Lookups, please reach out through the Report Issue menu or email support@oneblink.io.
Was this article helpful?
That’s Great!
Thank you for your feedback
Sorry! We couldn't be helpful
Thank you for your feedback
Feedback sent
We appreciate your effort and will try to fix the article